之前做个几个大模型的应用,都是使用Python语言,后来有一个项目使用了Java,并使用了Spring AI框架。随着Spring AI不断地完善,最近它发布了1.0正式版,意味着它已经能很好的作为企业级生产环境的使用。对于Java开发者来说真是一个福音,其功能已经能满足基于大模型开发企业级应用。借着这次机会,给大家分享一下Spring AI框架。
注意:由于框架不同版本改造会有些使用的不同,因此本次系列中使用基本框架是 Spring AI-1.0.0,JDK版本使用的是19。
代码参考: https://github.com/forever1986/springai-study
目录
- 1 Spring AI 的 ImageModel
- 1.1 ImagePrompt
- 1.2 ImageResponse
- 2 示例演示
上一章讲了一个非常重要的EmbeddingModel,这一章来讲讲ImageModel。
1 Spring AI 的 ImageModel
前面提到聊天模型和嵌入模型时,都说过Spring AI封装了一个ChatModel和EmbeddingModel,所以关于图像模型,Spring AI 同样封装了一个ImageModel接口,为了统一各个模型供应商的封装。下面是ImageModel的源码:
import org.springframework.ai.model.Model;@FunctionalInterface
public interface ImageModel extends Model<ImagePrompt, ImageResponse> {// 返回图像ImageResponse call(ImagePrompt request);
}
可以看到ImageModel 非常简单,就是只有一个方法call用于调用大模型的API,并返回图像。但是关于call方法,需要关注的是其参数ImagePrompt和返回值ImageResponse。
1.1 ImagePrompt
关于ImagePrompt,它包括两个重要部分:ImageMessage和ImageOptions:
- ImageMessage:这个参数包括一个提示语和一个权重值,提示词当然就是提示生成图片的提示语,而权重值则需要模型能够支持权重设置的模型才起作用
- ImageOptions:这个是配置选项,包括:模型、生成几张图片、高度、宽度等等信息,当然这个也是需要模型本身支持某些配置选择才行。比如可以看一下智谱实现的ZhiPuAiImageOptions,里面仅仅包括设置模型,并没有其它配置选项。
1.2 ImageResponse
关于ImageResponse,它包括两个重要部分:ImageGeneration和ImageResponseMetadata:
- ImageGeneration:继承自 ModelResult 类,用于表示输出响应(也就是图片)以及关于该图片的相关元数据。这是一个list,也就是支持多张图片生成(如果模型允许的话)
- ImageResponseMetadata:该对象用于存储有关人工智能模型响应的元数据。
2 示例演示
代码参考lesson18
示例说明:这里使用智谱的免费图像模型CogView-3-Flash进行图片生成演示
1)关于如何找图片大模型,可以去各大模型平台上面找,比如下面是在智谱官方的文生图模型
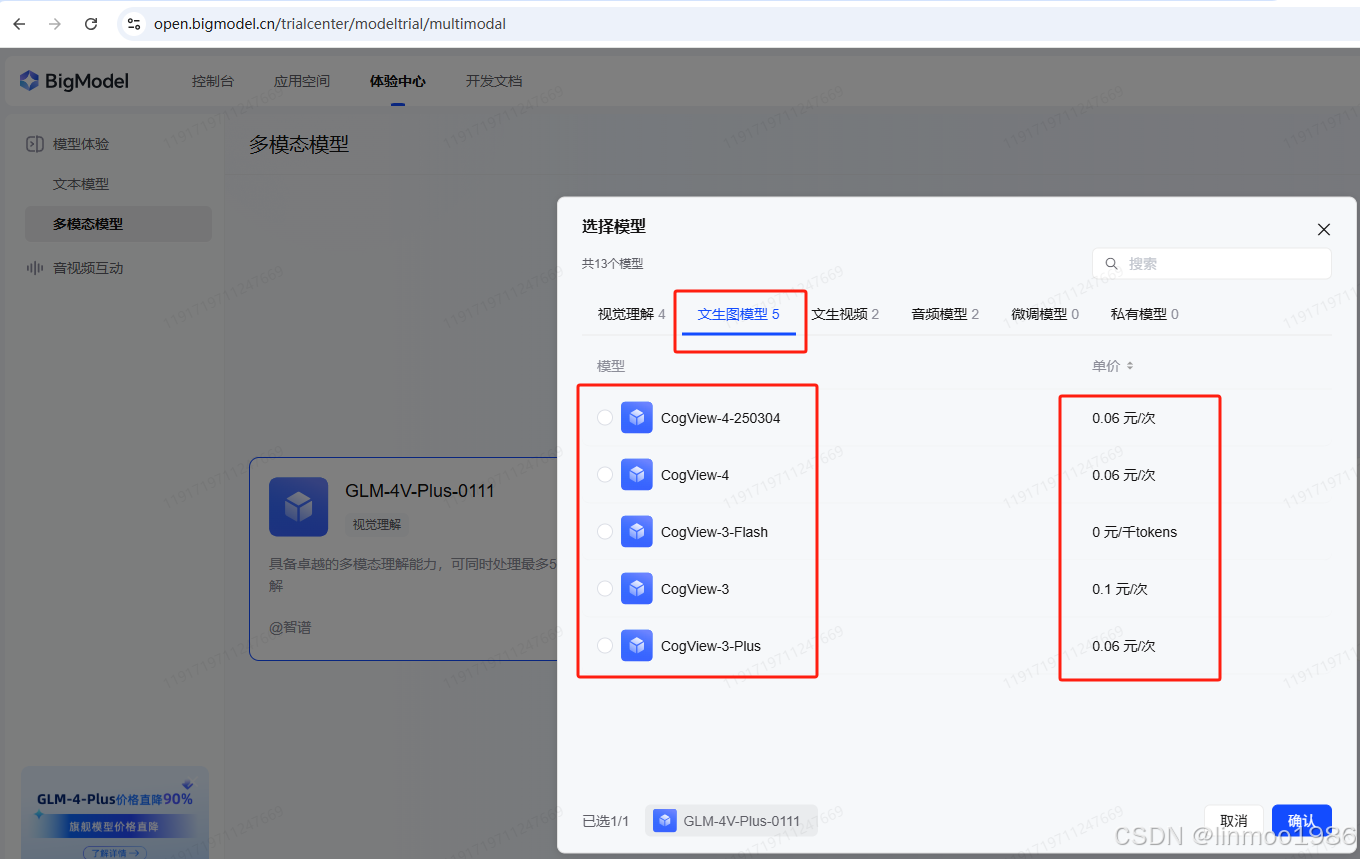
说明:这次选用CogView-3-Flash,因为免费。。。
2)新建lesson18子模块,其pom引入如下:
<dependencies><dependency><groupId>org.springframework.boot</groupId><artifactId>spring-boot-starter-web</artifactId></dependency><dependency><groupId>org.springframework.ai</groupId><artifactId>spring-ai-starter-model-zhipuai</artifactId></dependency>
</dependencies>
3)配置application.properties文件
# API KEY
spring.ai.zhipuai.api-key=你的智谱模型的API KEY
4)新建演示类ImageModelController:
import jakarta.servlet.http.HttpServletResponse;
import org.springframework.ai.image.ImageMessage;
import org.springframework.ai.image.ImagePrompt;
import org.springframework.ai.image.ImageResponse;
import org.springframework.ai.zhipuai.ZhiPuAiImageModel;
import org.springframework.ai.zhipuai.ZhiPuAiImageOptions;
import org.springframework.beans.factory.annotation.Autowired;
import org.springframework.http.MediaType;
import org.springframework.web.bind.annotation.GetMapping;
import org.springframework.web.bind.annotation.RequestParam;
import org.springframework.web.bind.annotation.RestController;import java.io.IOException;
import java.io.InputStream;
import java.net.URI;
import java.net.URL;@RestController
public class ImageModelController {private final ZhiPuAiImageModel imageModel;@Autowiredpublic ImageModelController(ZhiPuAiImageModel imageModel) {this.imageModel = imageModel;}@GetMapping("/ai/imagegenerate")public void generate(@RequestParam(value = "message", defaultValue = "生成一只老虎!") String message, HttpServletResponse response) throws IOException {ImageResponse image = this.imageModel.call(new ImagePrompt(new ImageMessage(message)// ZhiPuAiImageOptions参数可以设置模型、图片数量、图片大小等信息,这里必须是图像模型, ZhiPuAiImageOptions.builder().model("cogview-3-flash").build()));// 返回的URLString url = image.getResult().getOutput().getUrl();// 将URL转为Stream输出到HttpServletResponseURL imageURL = URI.create(url).toURL();InputStream inputStream = imageURL.openStream();response.setHeader("Content-Type", MediaType.IMAGE_PNG_VALUE);response.getOutputStream().write(inputStream.readAllBytes());response.getOutputStream().flush();}}
5)新建启动类Lesson18Application:
import org.springframework.boot.SpringApplication;
import org.springframework.boot.autoconfigure.SpringBootApplication;@SpringBootApplication
public class Lesson18Application {public static void main(String[] args) {SpringApplication.run(Lesson18Application.class, args);}}
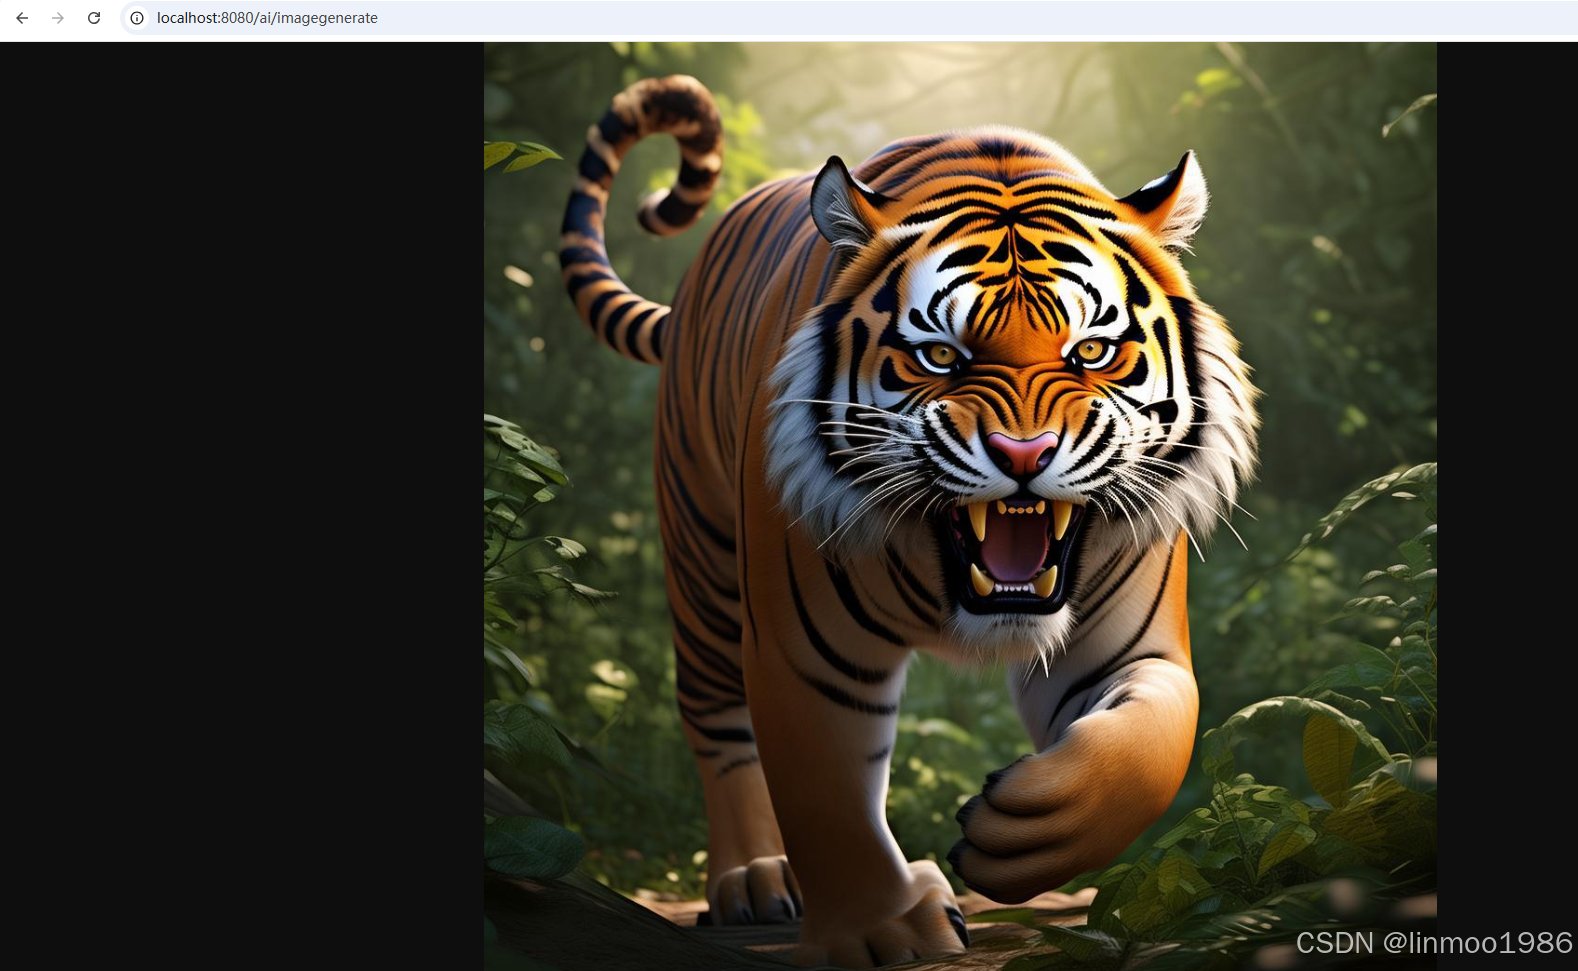
6)演示效果:
http://localhost:8080/ai/imagegenerate
结语:本章介绍Spring AI的ImageModel,包括其源码、参数和返回值。同时也通过示例演示如何访问智谱的图像模型,可以看出Spring AI对于图像模型也是封装了一个非常简便的ImageModel,让用户无需关心底层的访问逻辑。下一章将继续讲非聊天大模型之音频大模型。
Spring AI系列上一章:《Spring AI 系列之二十一 - EmbeddingModel》
Spring AI系列下一章:《Spring AI 系列之二十三 - AudioModels》

)


)


)
函数内判断)


