【GPT入门】第42课 ollama安装与运行llama3模型
- 1. 安装ollama
- 2.运行模型
- 3.测试模型
- 3.1 直接在命令行交互
- 3.2 openai接口
1. 安装ollama
https://ollama.com/

选download, 选linux
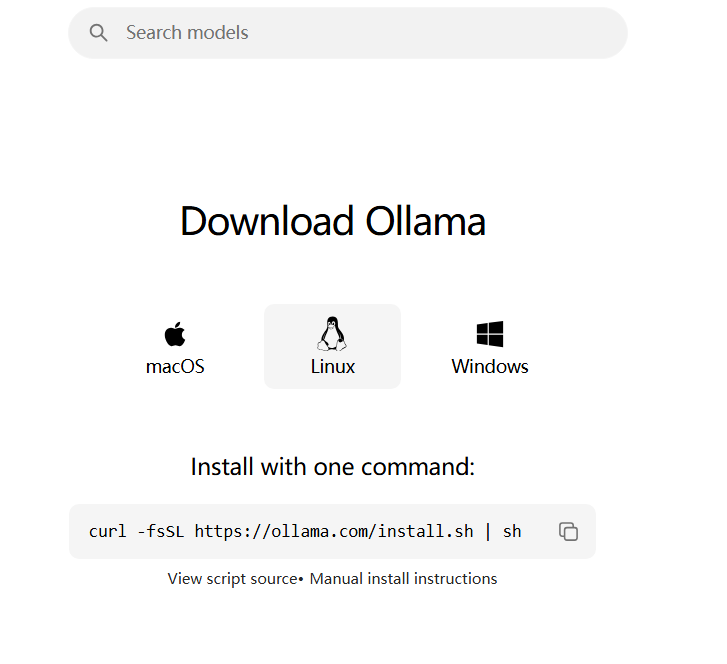
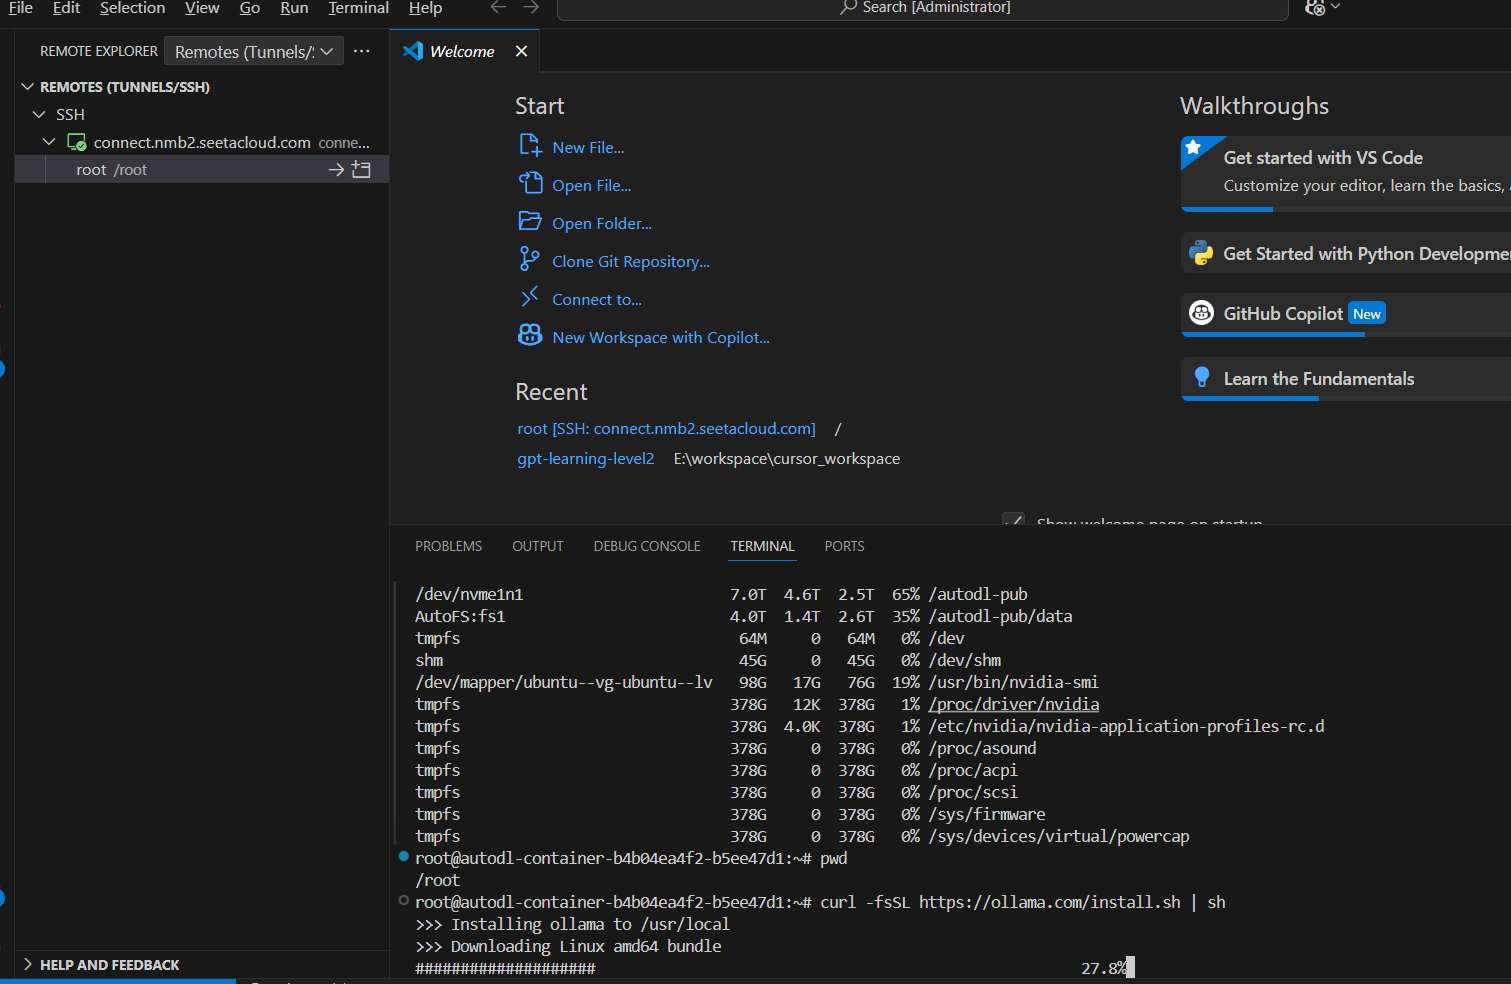
执行安装命令:
curl -fsSL https://ollama.com/install.sh | sh
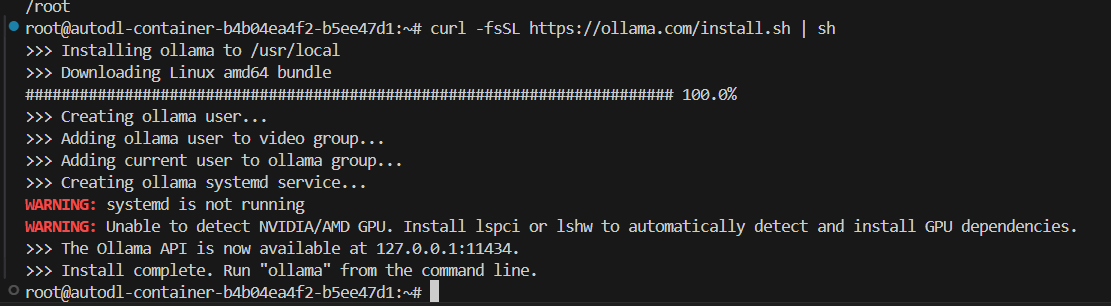
2.运行模型
- 启动服务
ollama serve
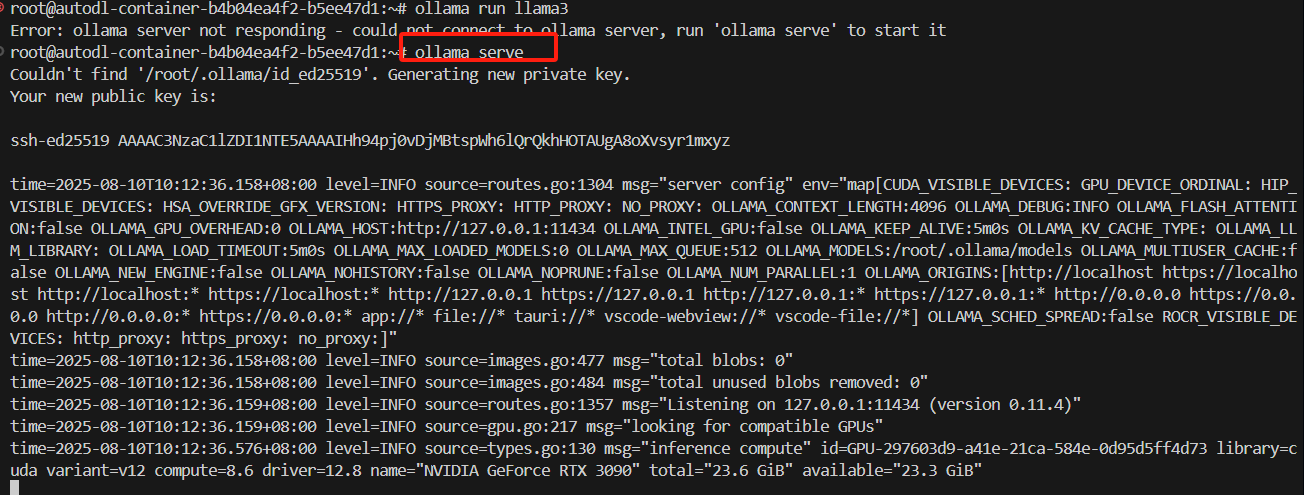
- 运行模型(新开一个窗口)
ollama run llama3
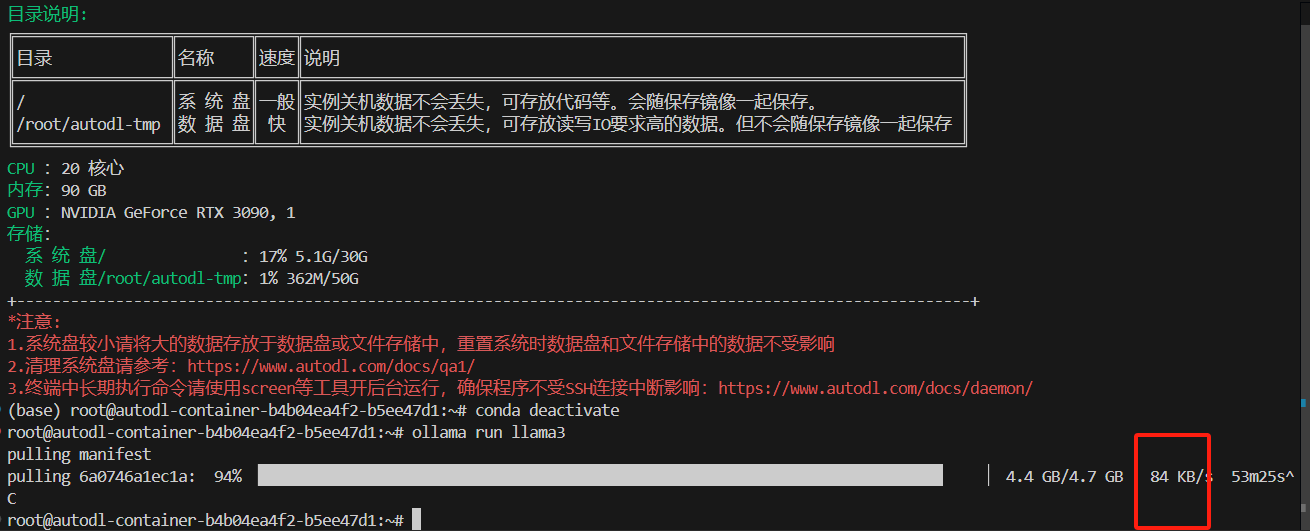
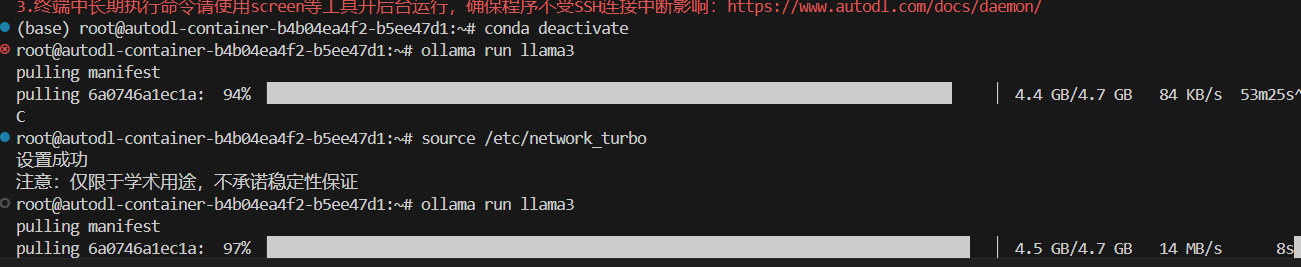
下载ollama时慢,开启学术加速
学术加速命令:
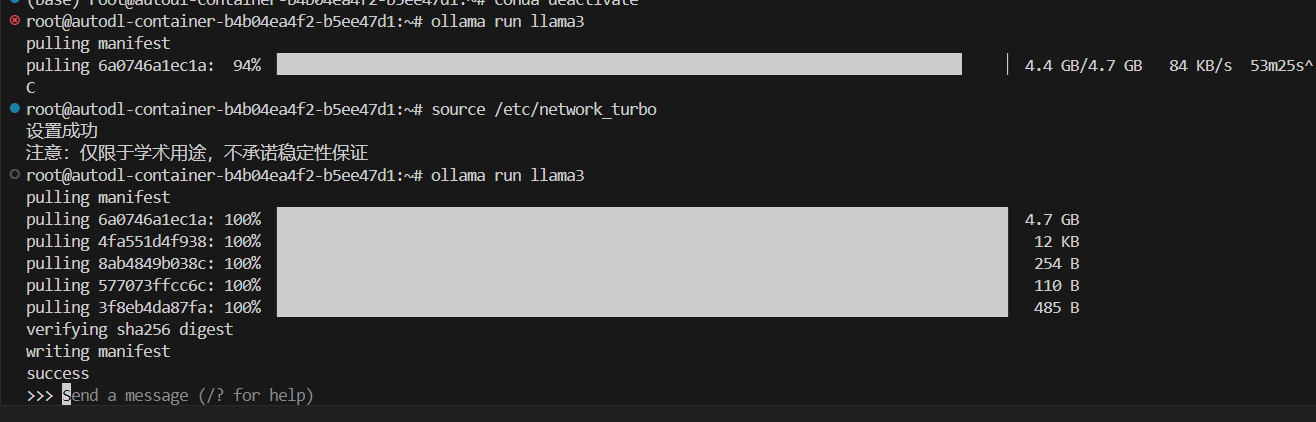
source /etc/network_turbo
对比学术加速的效果
下载完成,如下图所示:
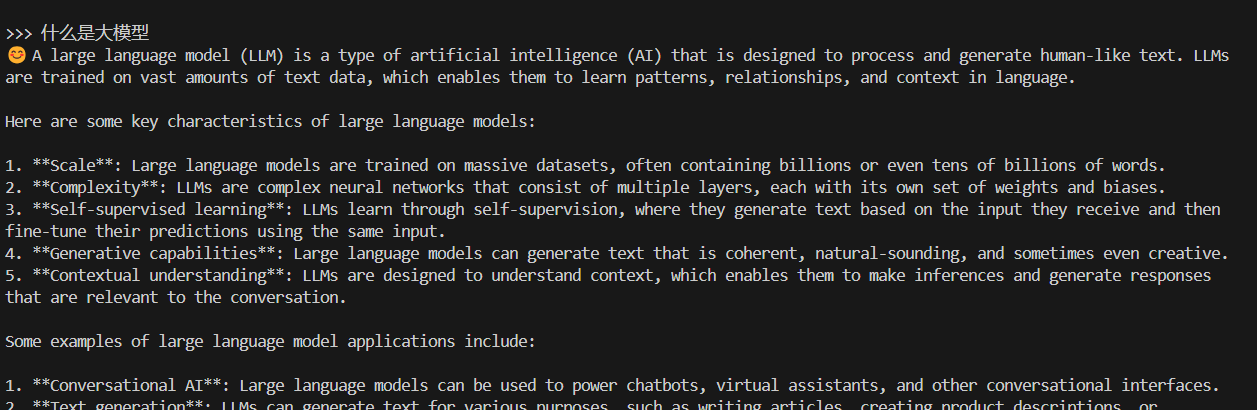
3.测试模型
3.1 直接在命令行交互
3.2 openai接口
调用代码:
#使用openai的代码风格调用ollamafrom openai import OpenAIclient = OpenAI(base_url="http://localhost:11434/v1/",api_key="ollama")chat_completion = client.chat.completions.create(messages=[{"role":"user","content":"你好,请介绍下自己"}],model="llama3"
)print(chat_completion.choices[0])
```c
执行结果如下图所示:
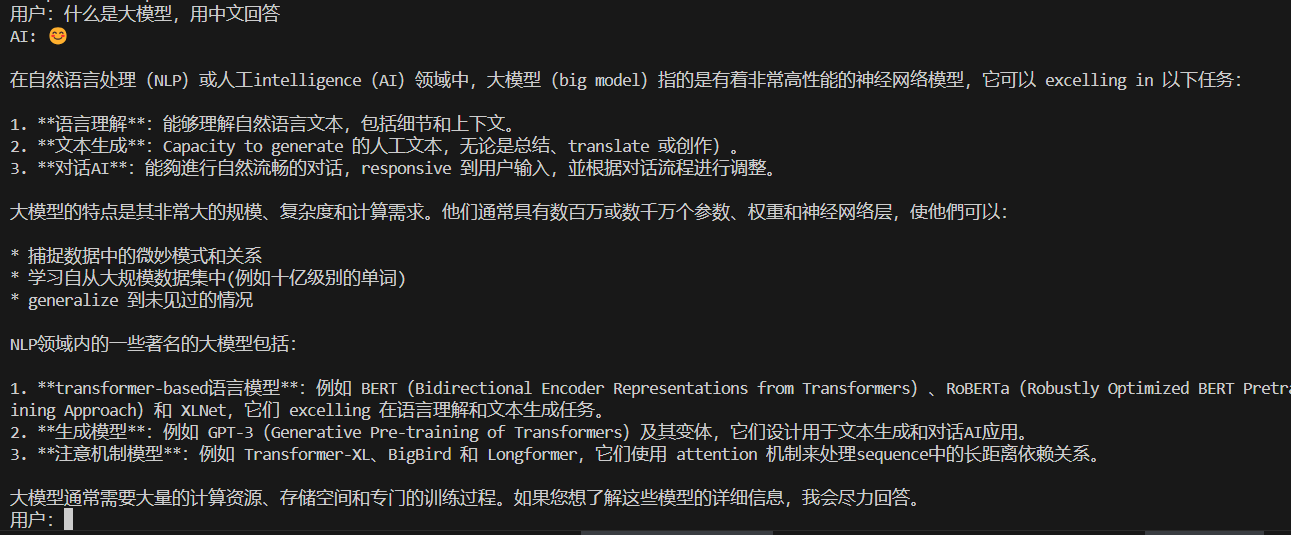
- 多轮问答
```c
#多轮对话
from openai import OpenAI#定义多轮对话方法
def run_chat_session():#初始化客户端client = OpenAI(base_url="http://localhost:11434/v1/",api_key="ollama")#初始化对话历史chat_history = []#启动对话循环while True:#获取用户输入user_input = input("用户:")if user_input.lower() == "exit":print("退出对话。")break#更新对话历史(添加用户输入)chat_history.append({"role":"user","content":user_input})#调用模型回答try:chat_complition = client.chat.completions.create(messages=chat_history,model="llama3")#获取最新回答model_response = chat_complition.choices[0]print("AI:",model_response.message.content)#更新对话历史(添加AI模型的回复)chat_history.append({"role":"assistant","content":model_response.message.content})except Exception as e:print("发生错误:",e)break
if __name__ == '__main__':run_chat_session()
执行效果:

![[已解决]VSCode右键菜单消失恢复](http://pic.xiahunao.cn/[已解决]VSCode右键菜单消失恢复)


![[0CTF 2016]piapiapia](http://pic.xiahunao.cn/[0CTF 2016]piapiapia)
人工神经网络中的无监督学习)


![【网络安全】CTF——[网鼎杯2018]Unfinish-SQL注入-二次注入](http://pic.xiahunao.cn/【网络安全】CTF——[网鼎杯2018]Unfinish-SQL注入-二次注入)


)


