https://docs.n8n.io/courses/
文章目录
- Navigating the Editor UI
- Getting started
- Editor UI settings
- Left-side panel
- Top bar
- Canvas
- Nodes
- Finding nodes
- Adding nodes
- Node buttons
- Summary
Navigating the Editor UI
In this lesson you will learn how to navigate the Editor UI. We will walk through the canvas and show you what each icon means and where to find things you will need while building workflows in n8n.
editor (n8n):
The n8n editor UI allows you to create and manage workflows. The main area is the canvas, where you can compose workflows by adding, configuring, and connecting nodes. The side and top panels allow you to access other areas of the UI like credentials, templates, variables, executions, and more.
canvas (n8n):
The canvas is the main interface for building workflows in n8n’s editor UI. You use the canvas to add and connect nodes to compose workflows.
n8n version:
course is based on n8n version 1.82.1. In other versions, some user interfaces might look different, but this shouldn’t impact the core functionality.
Getting started
Begin by setting up n8n.
We recommend starting with n8n Cloud, a hosted solution that doesn’t require installation and includes a free trial.
Alternative set up:
If n8n Cloud isn’t a good option for you, you can self-host with Docker. This is an advanced option recommended only for technical users familiar with hosting services, Docker, and the command line.
For more details on the different ways to set up n8n, see our platforms documentation.
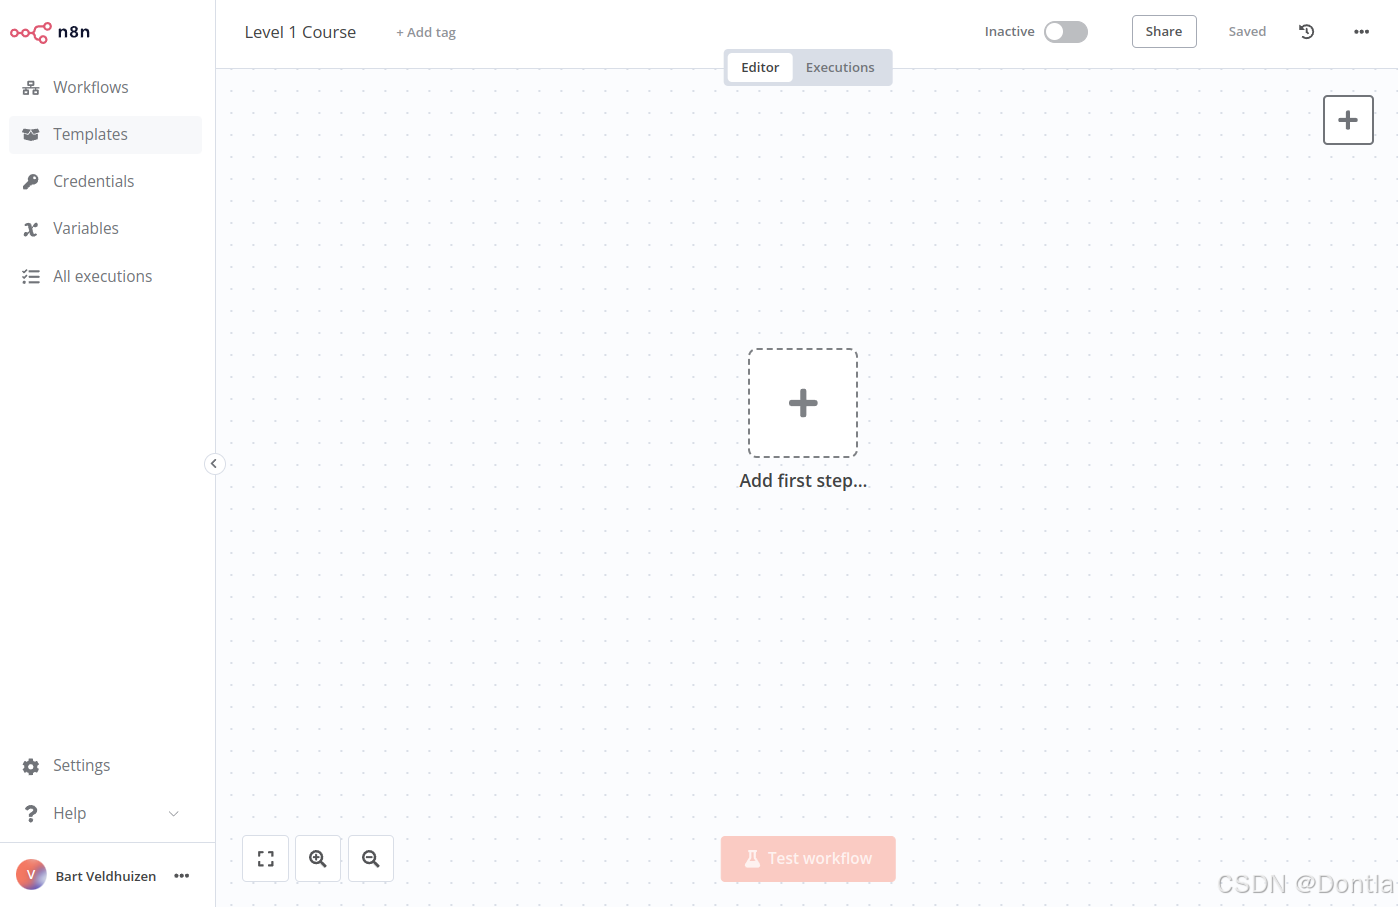
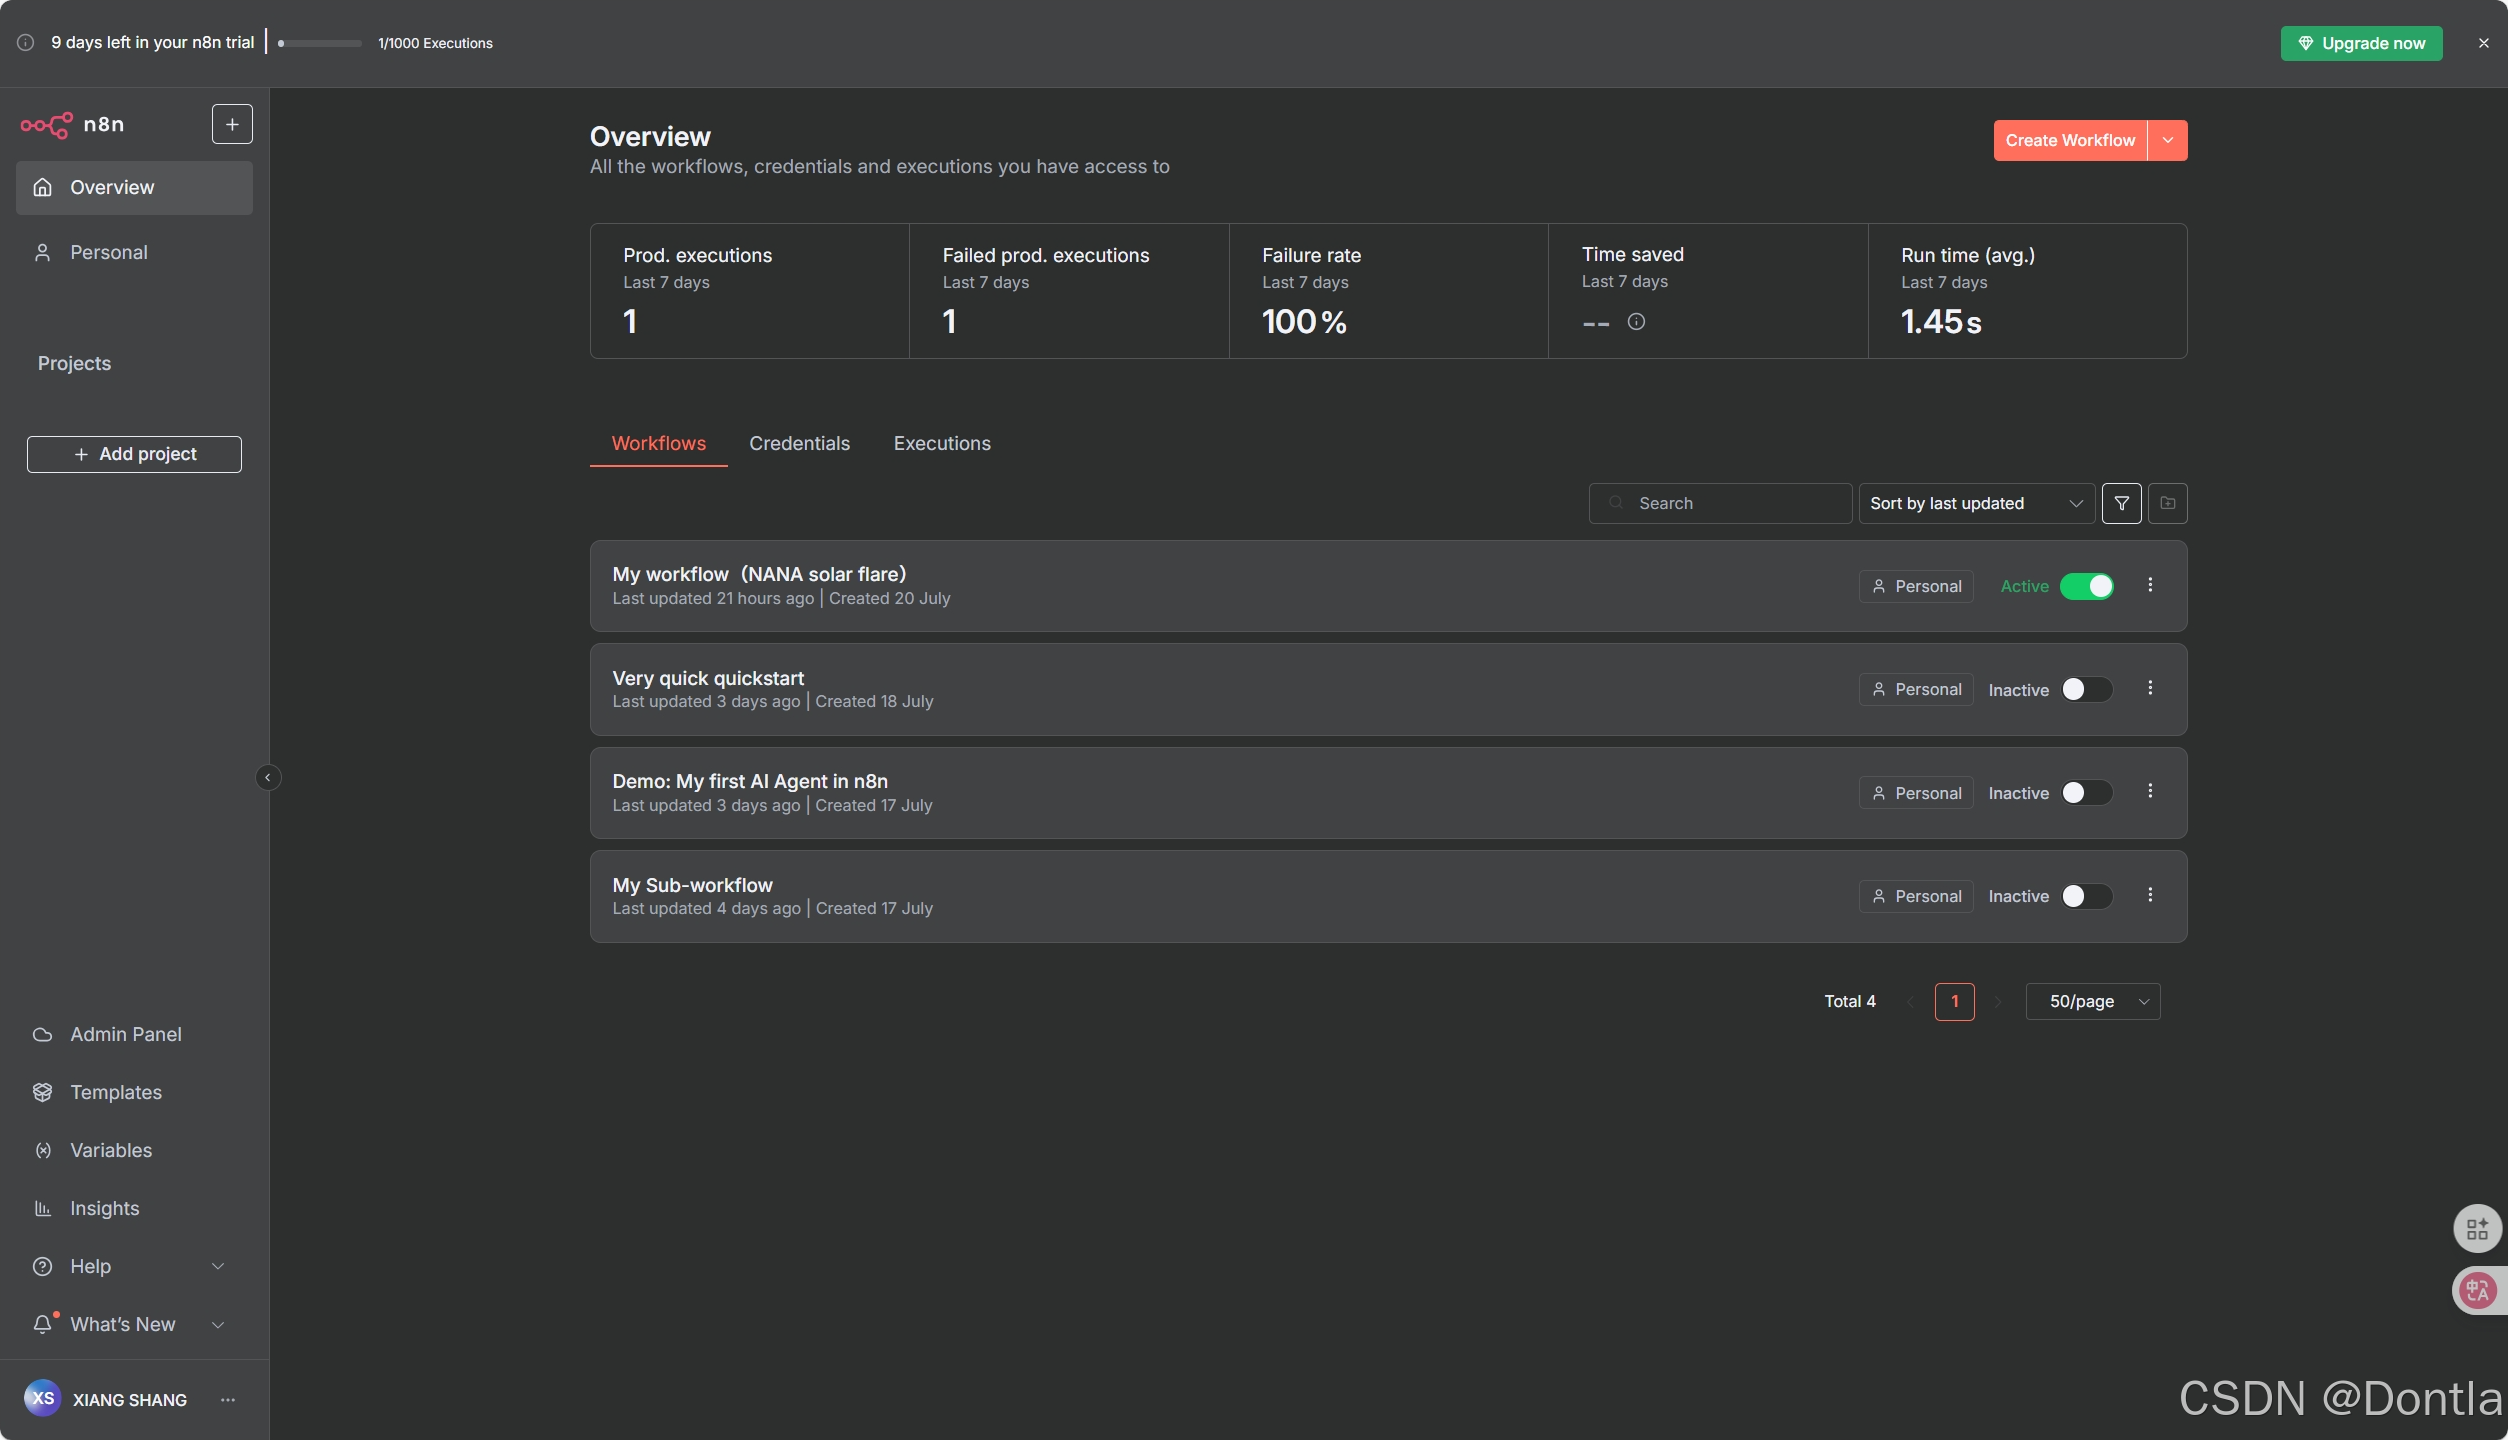
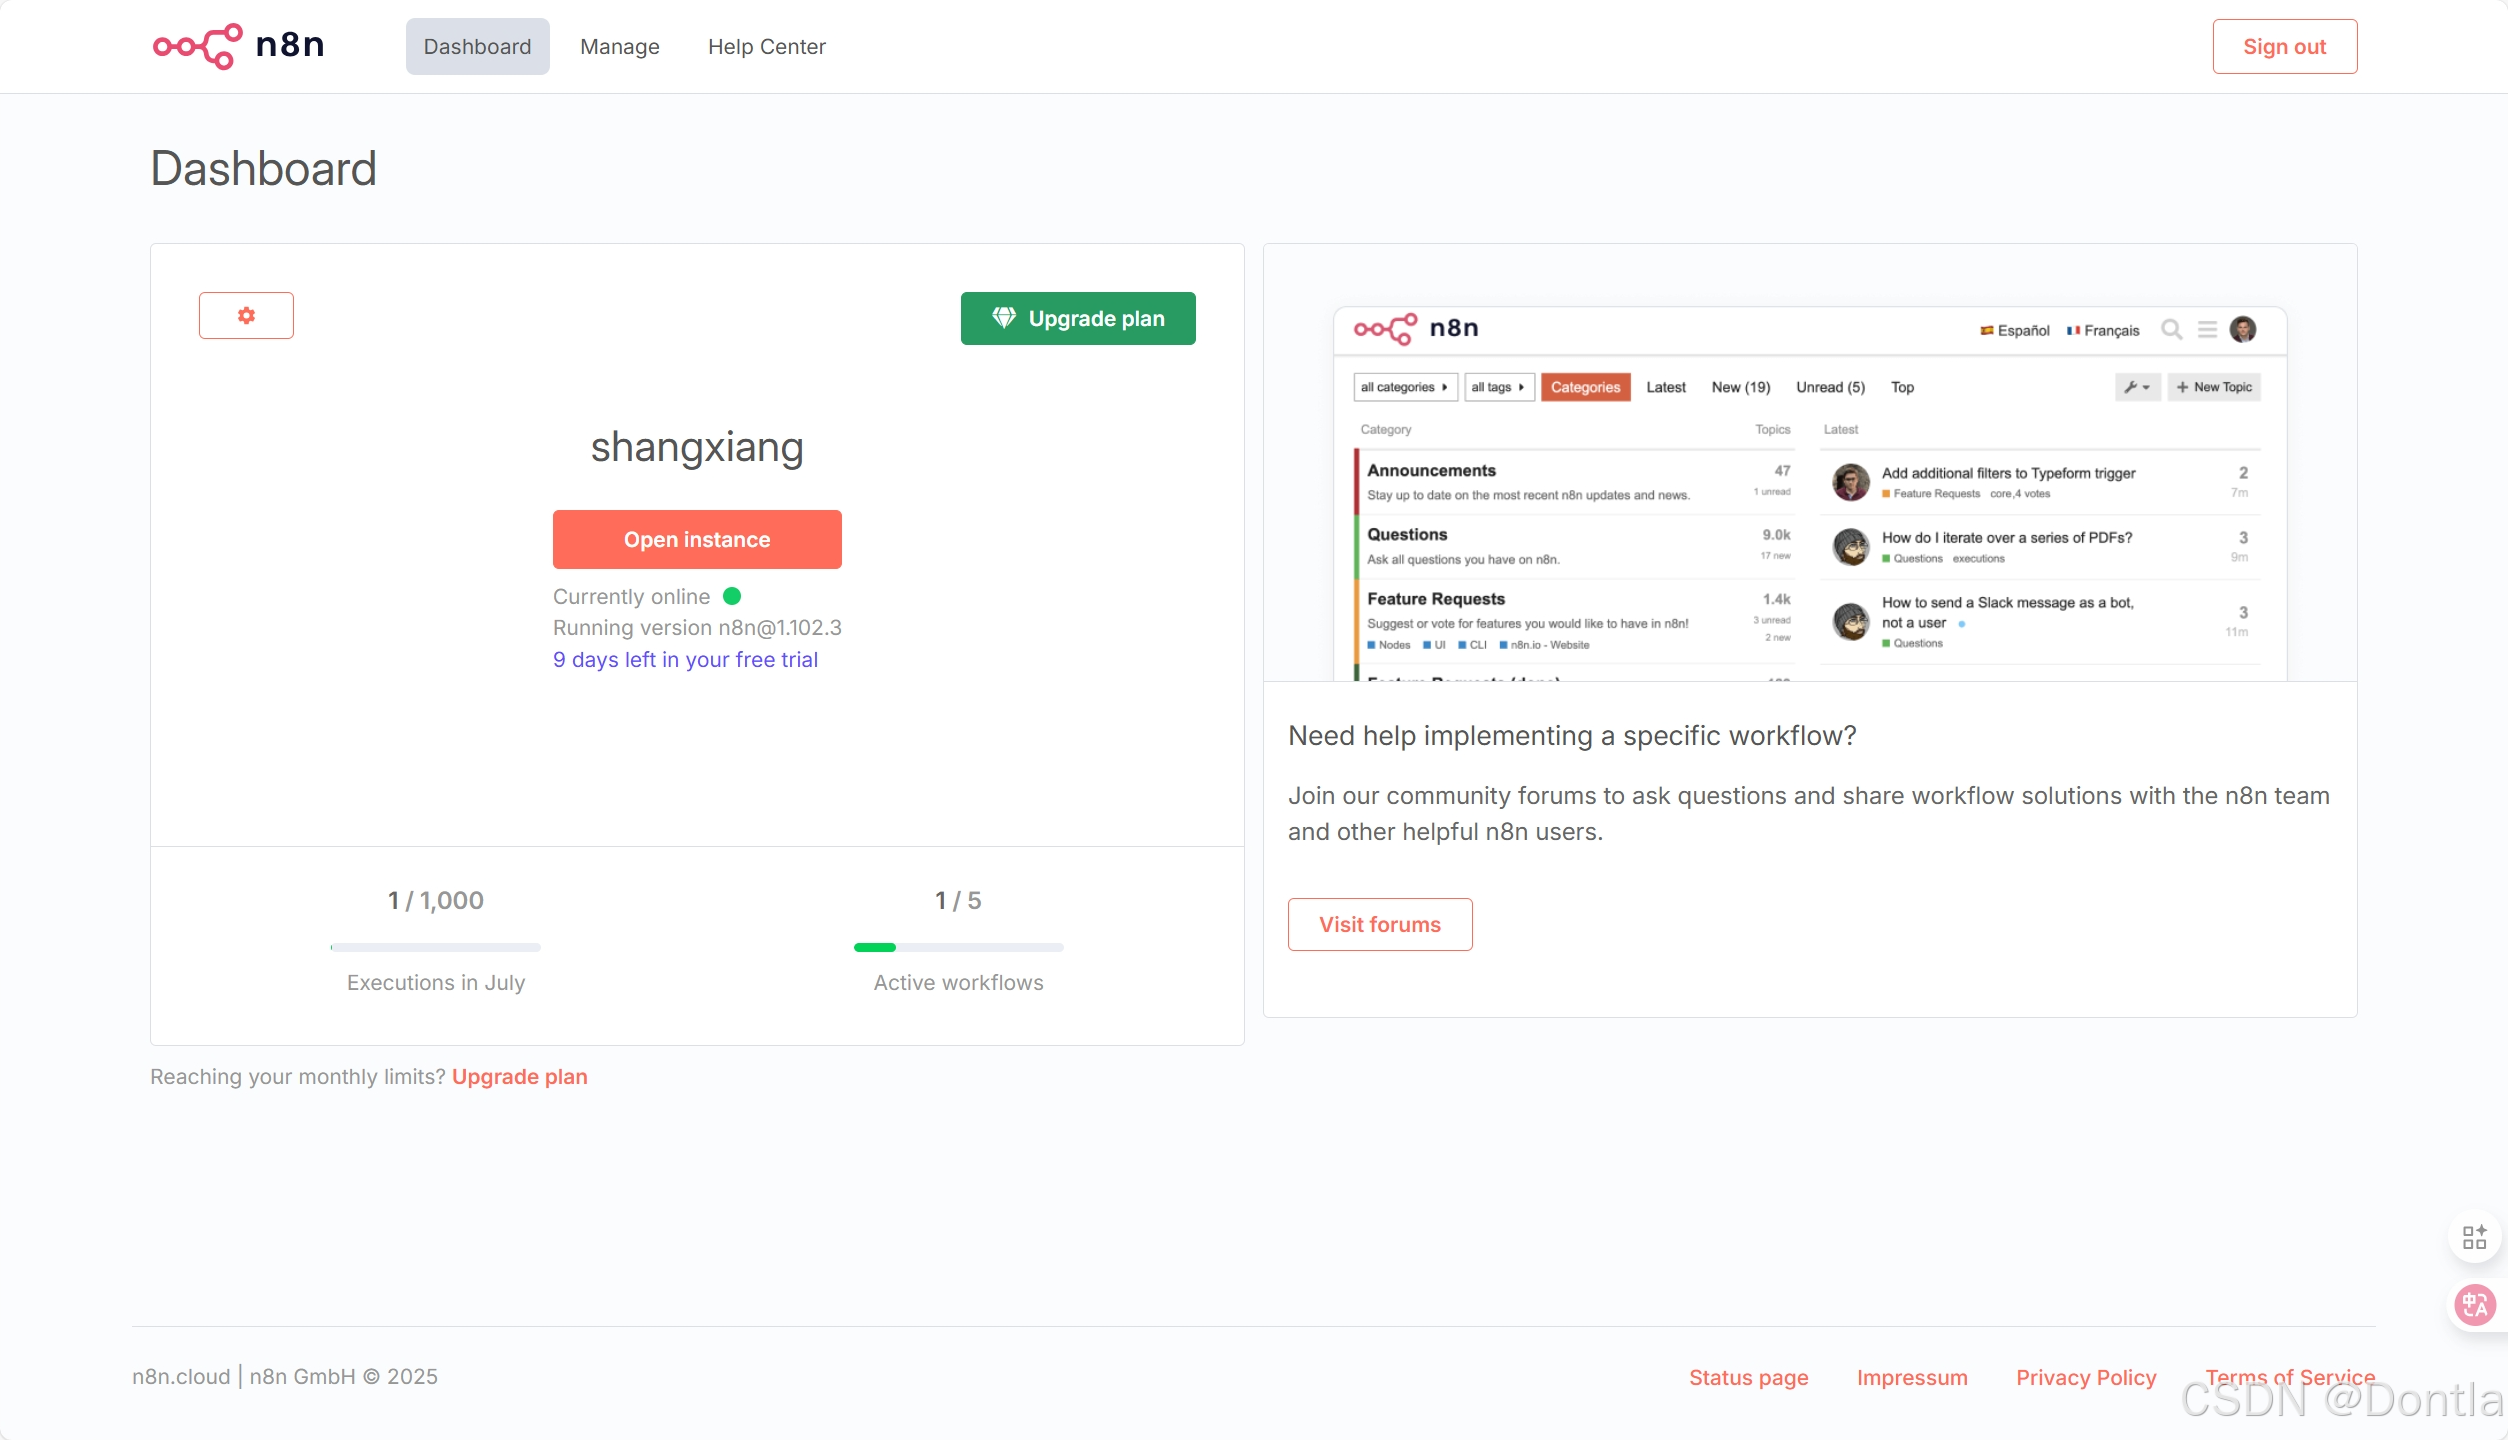
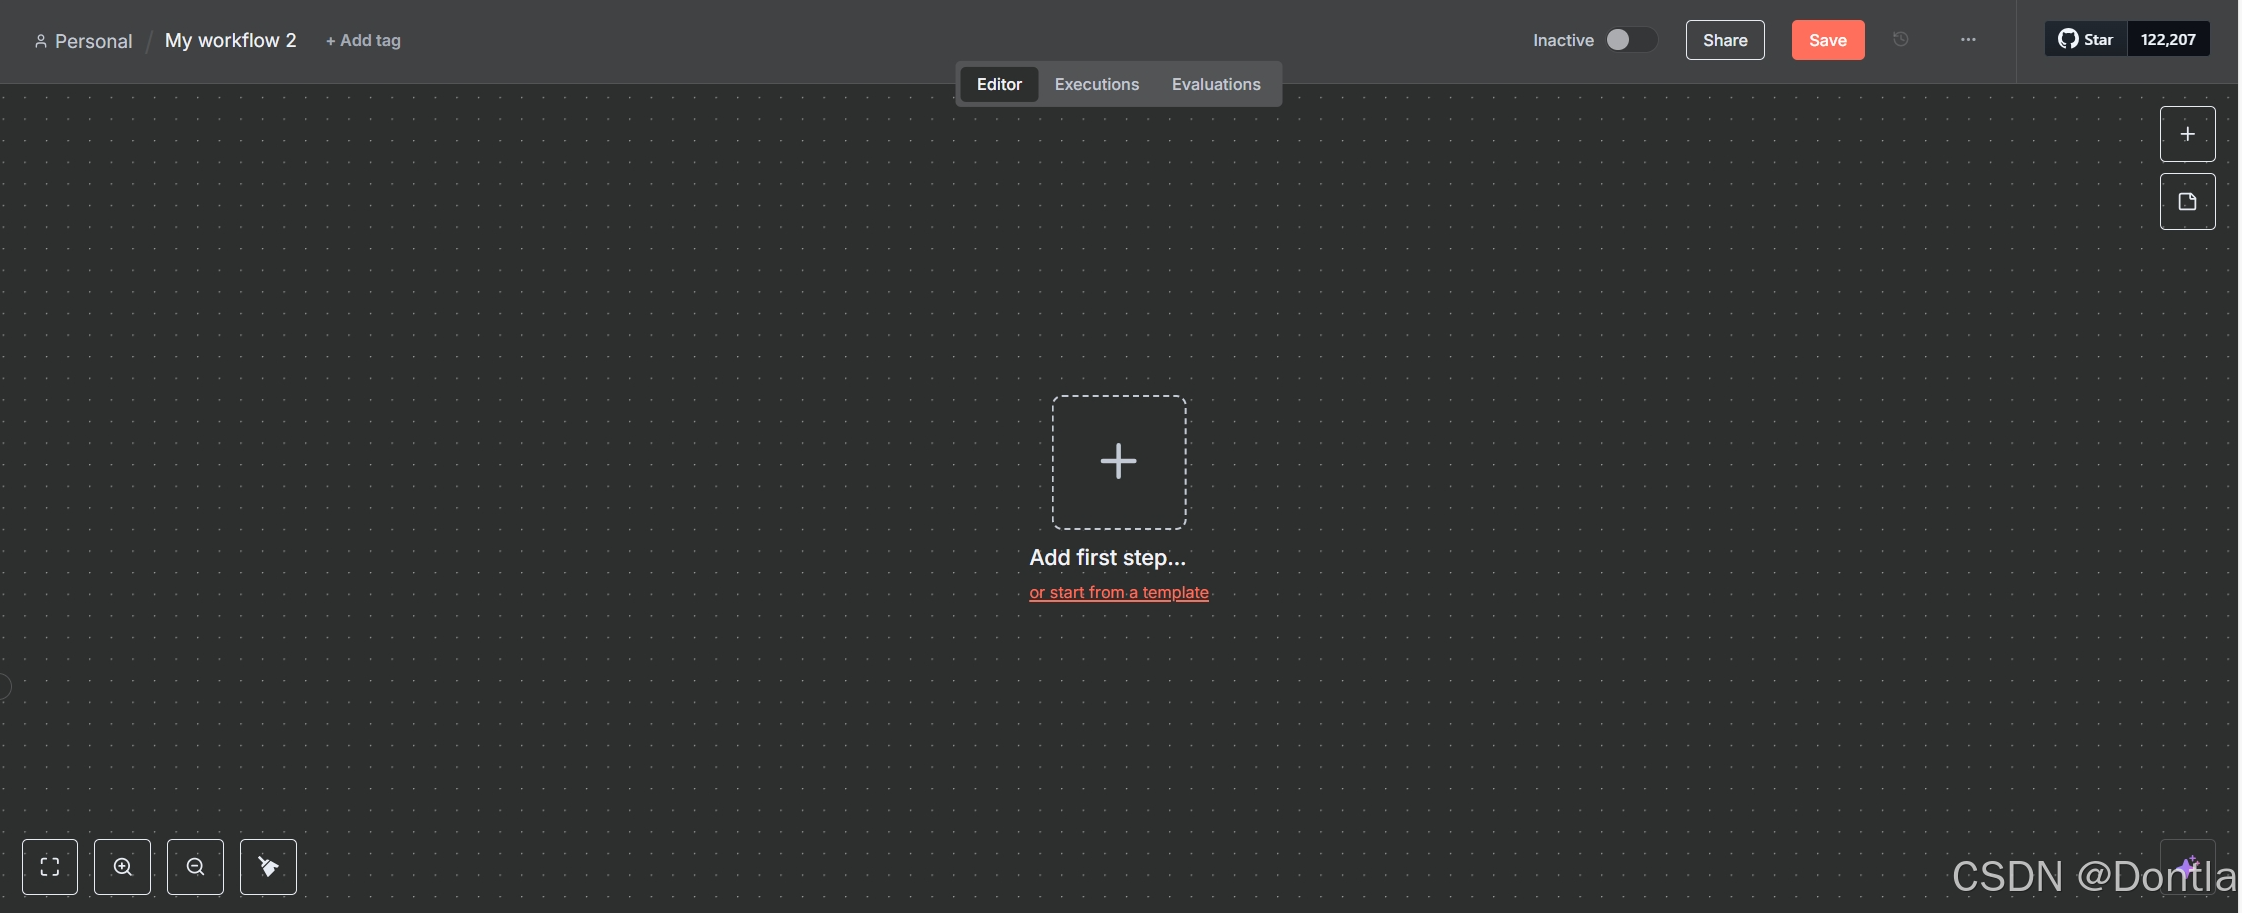
Once you have n8n running, open the Editor UI in a browser window. Log in to your n8n instance. Select Overview and then Create Workflow to view the main canvas.
It should look like this:
Editor UI settings
The editor UI is the web interface where you build workflows. You can access all your workflows and credentials, as well as support pages, from the Editor UI.
credential (n8n):
In n8n, credentials store authentication information to connect with specific apps and services. After creating credentials with your authentication information (username and password, API key, OAuth secrets, etc.), you can use the associated app node to interact with the service.
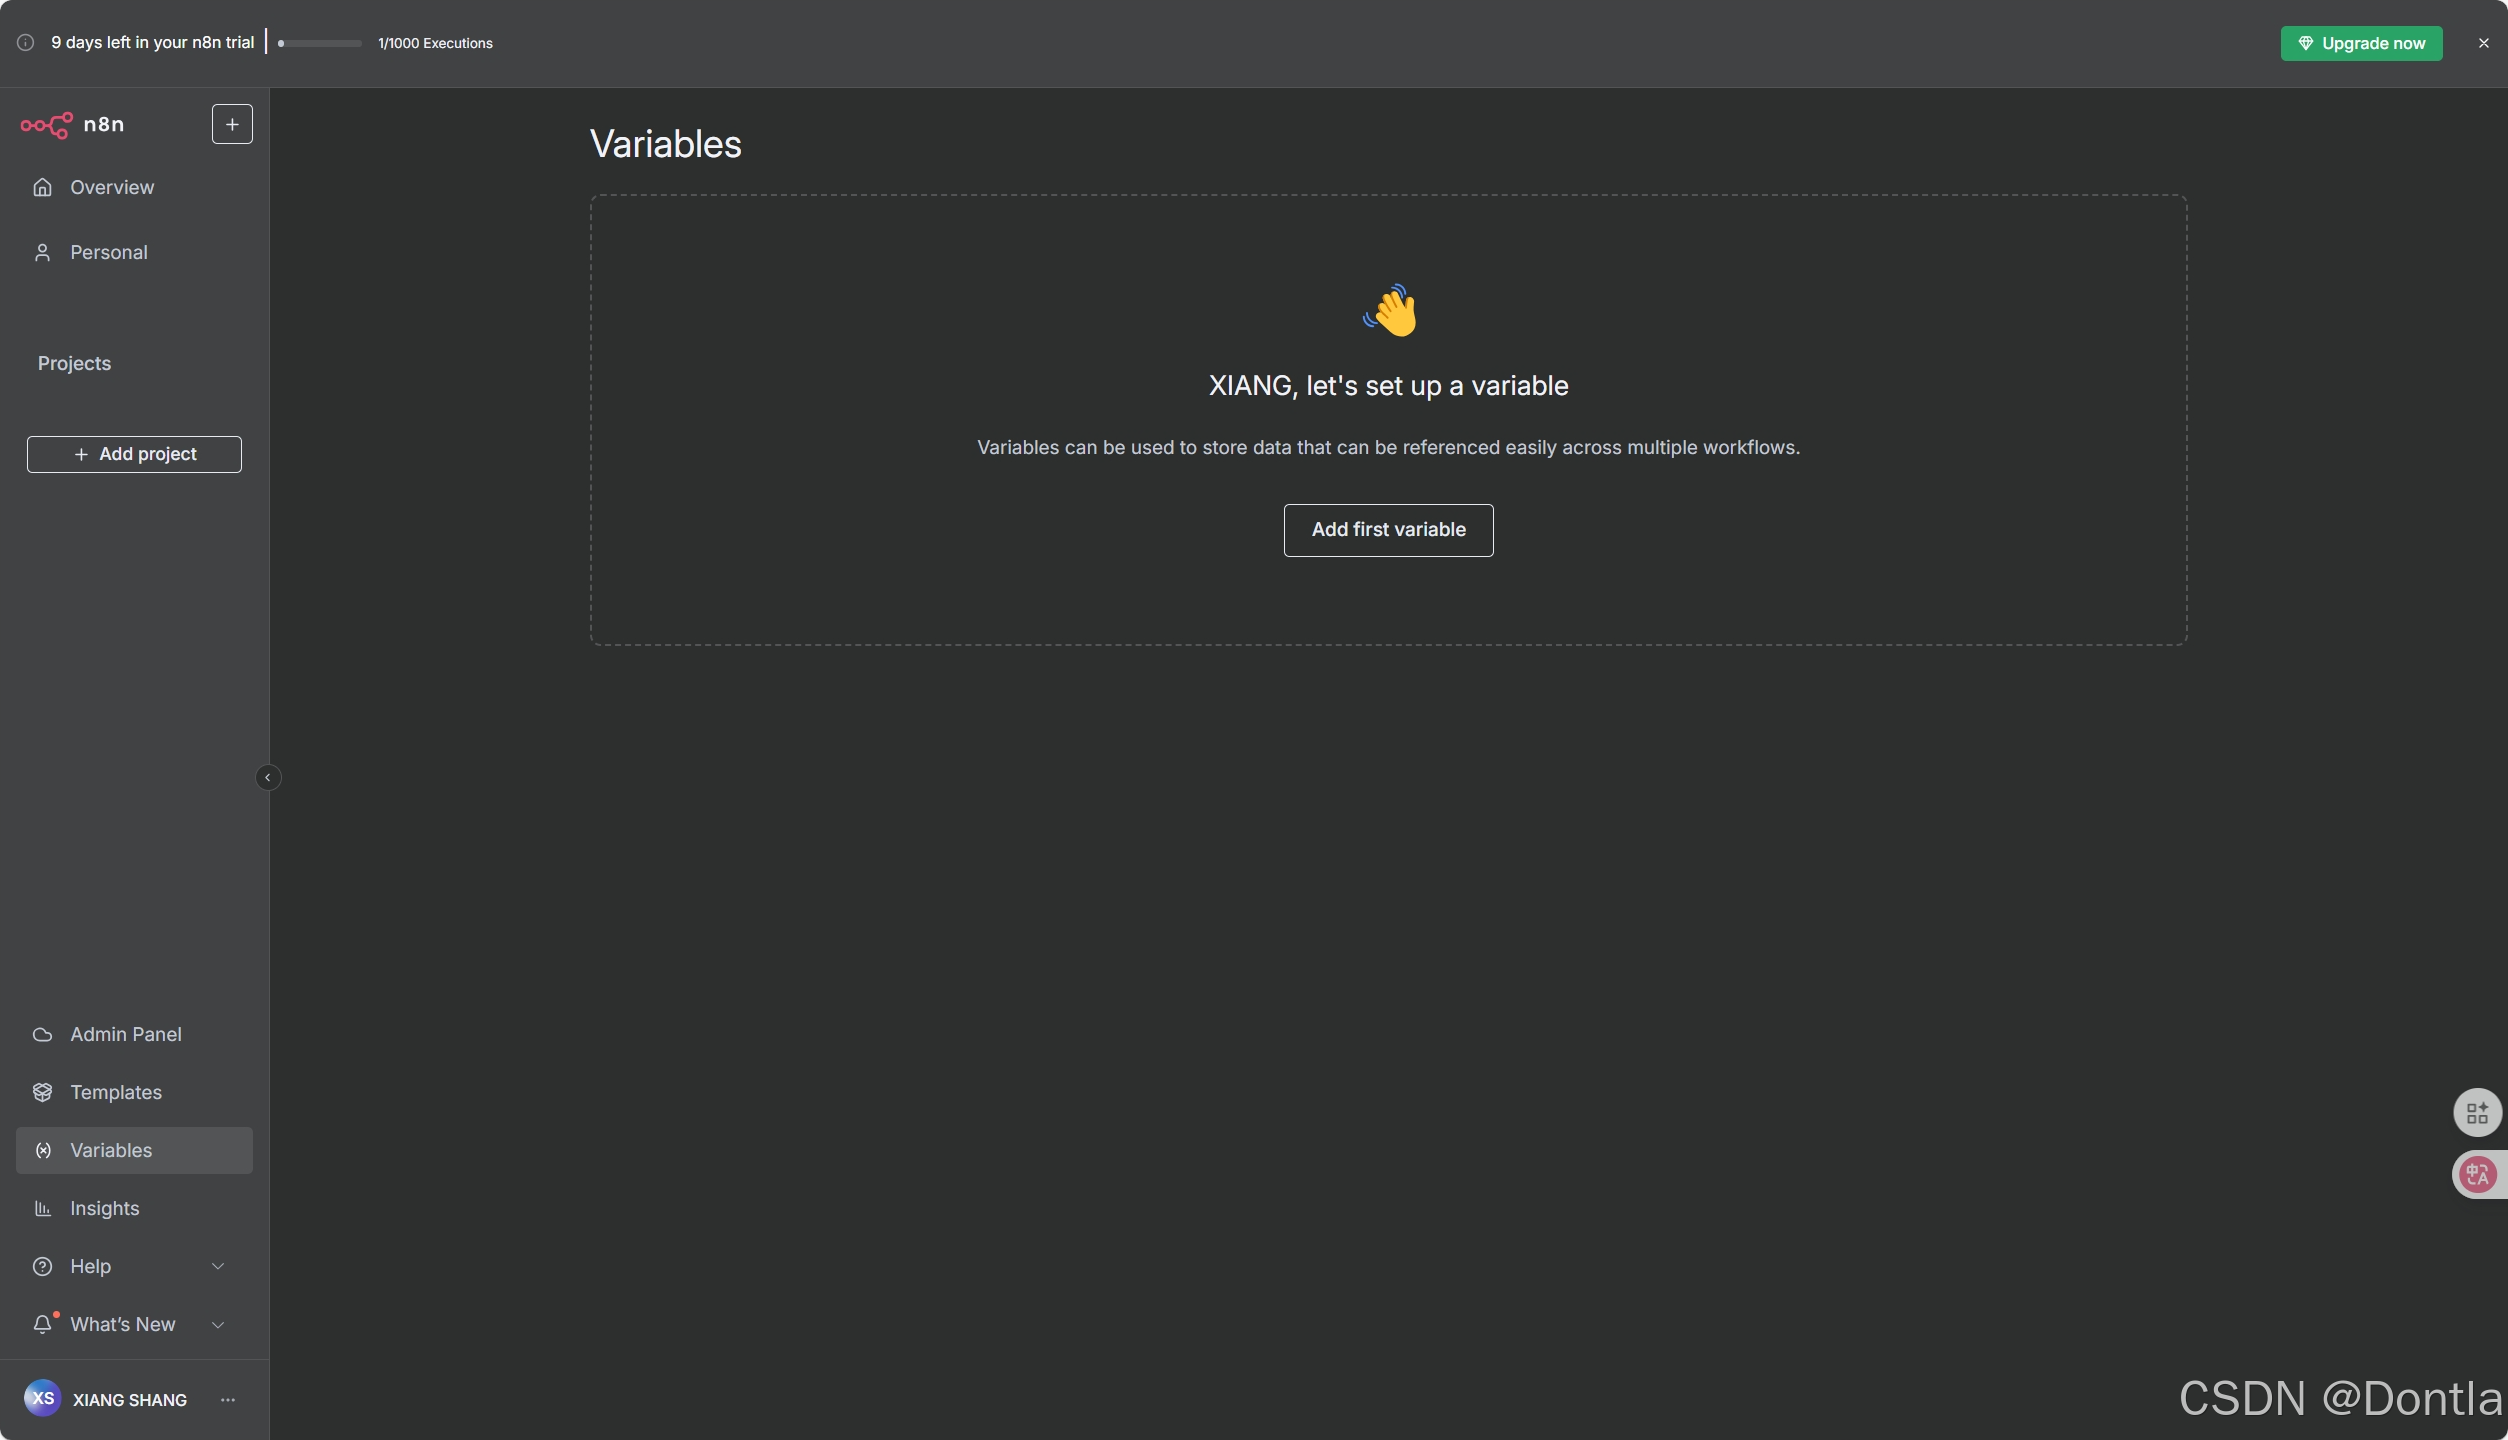
Left-side panel
On the left side of the Editor UI, there is a panel which contains the core functionalities and settings for managing your workflows. Expand and collapse it by selecting the small arrow icon.
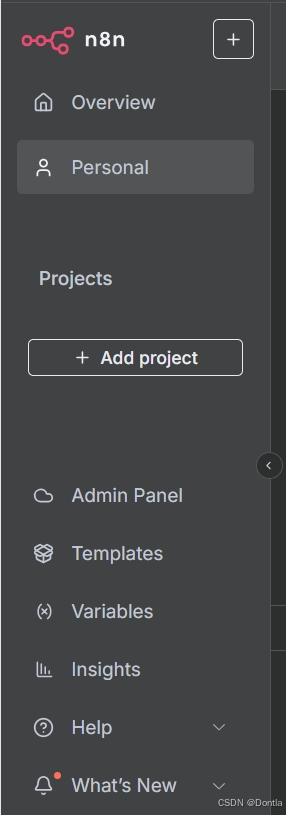
The panel contains the following sections:
-
Overview: Contains all the workflows and credentials you have access to. During this course, create new workflows here.
-
Projects: (Not available on Community edition) Projects group workflows and credentials. You can assign roles to users in a project to control what they can do in a project. A Personal project is available by default.
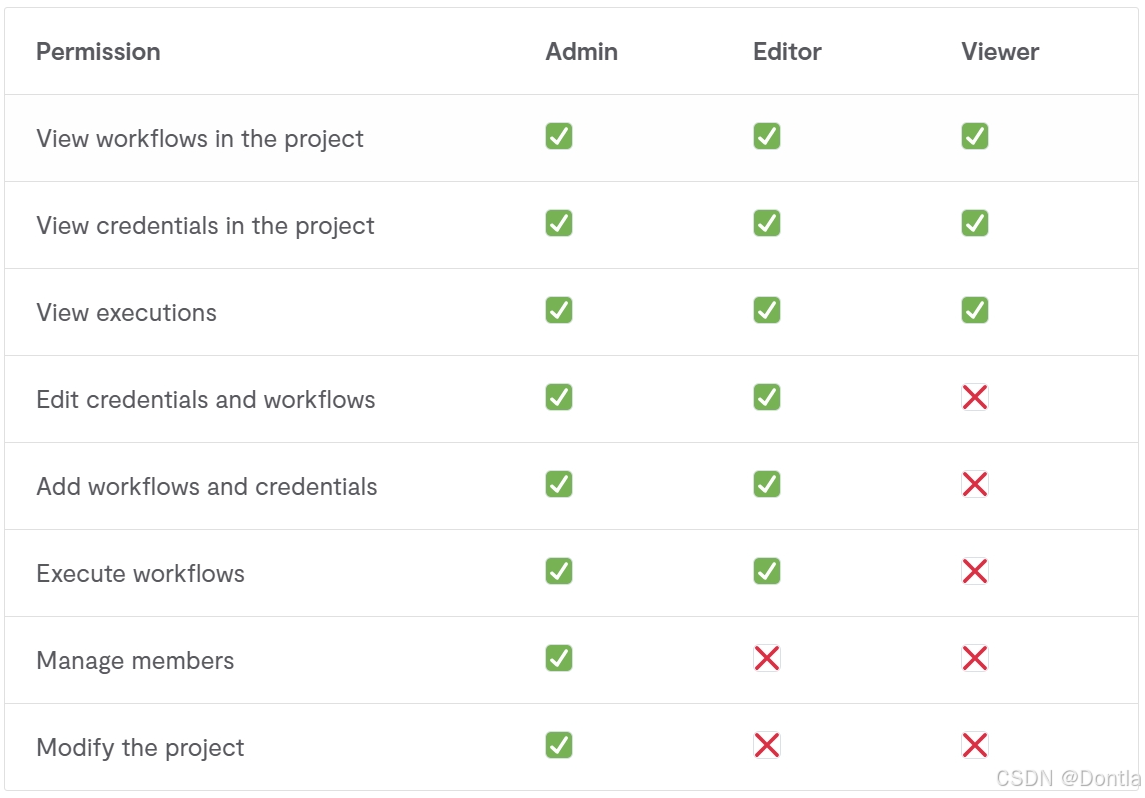
RBAC(Role-Based Access Control) role types:
Within projects, there are three user roles: Admin, Editor, and Viewer. These roles control what the user can do in a project. A user can have different roles within different projects.
-
Admin Panel: n8n Cloud only. Access your n8n instance usage, billing, and version settings.
-
Templates: A collection of pre-made workflows. Great place to get started with common use cases.
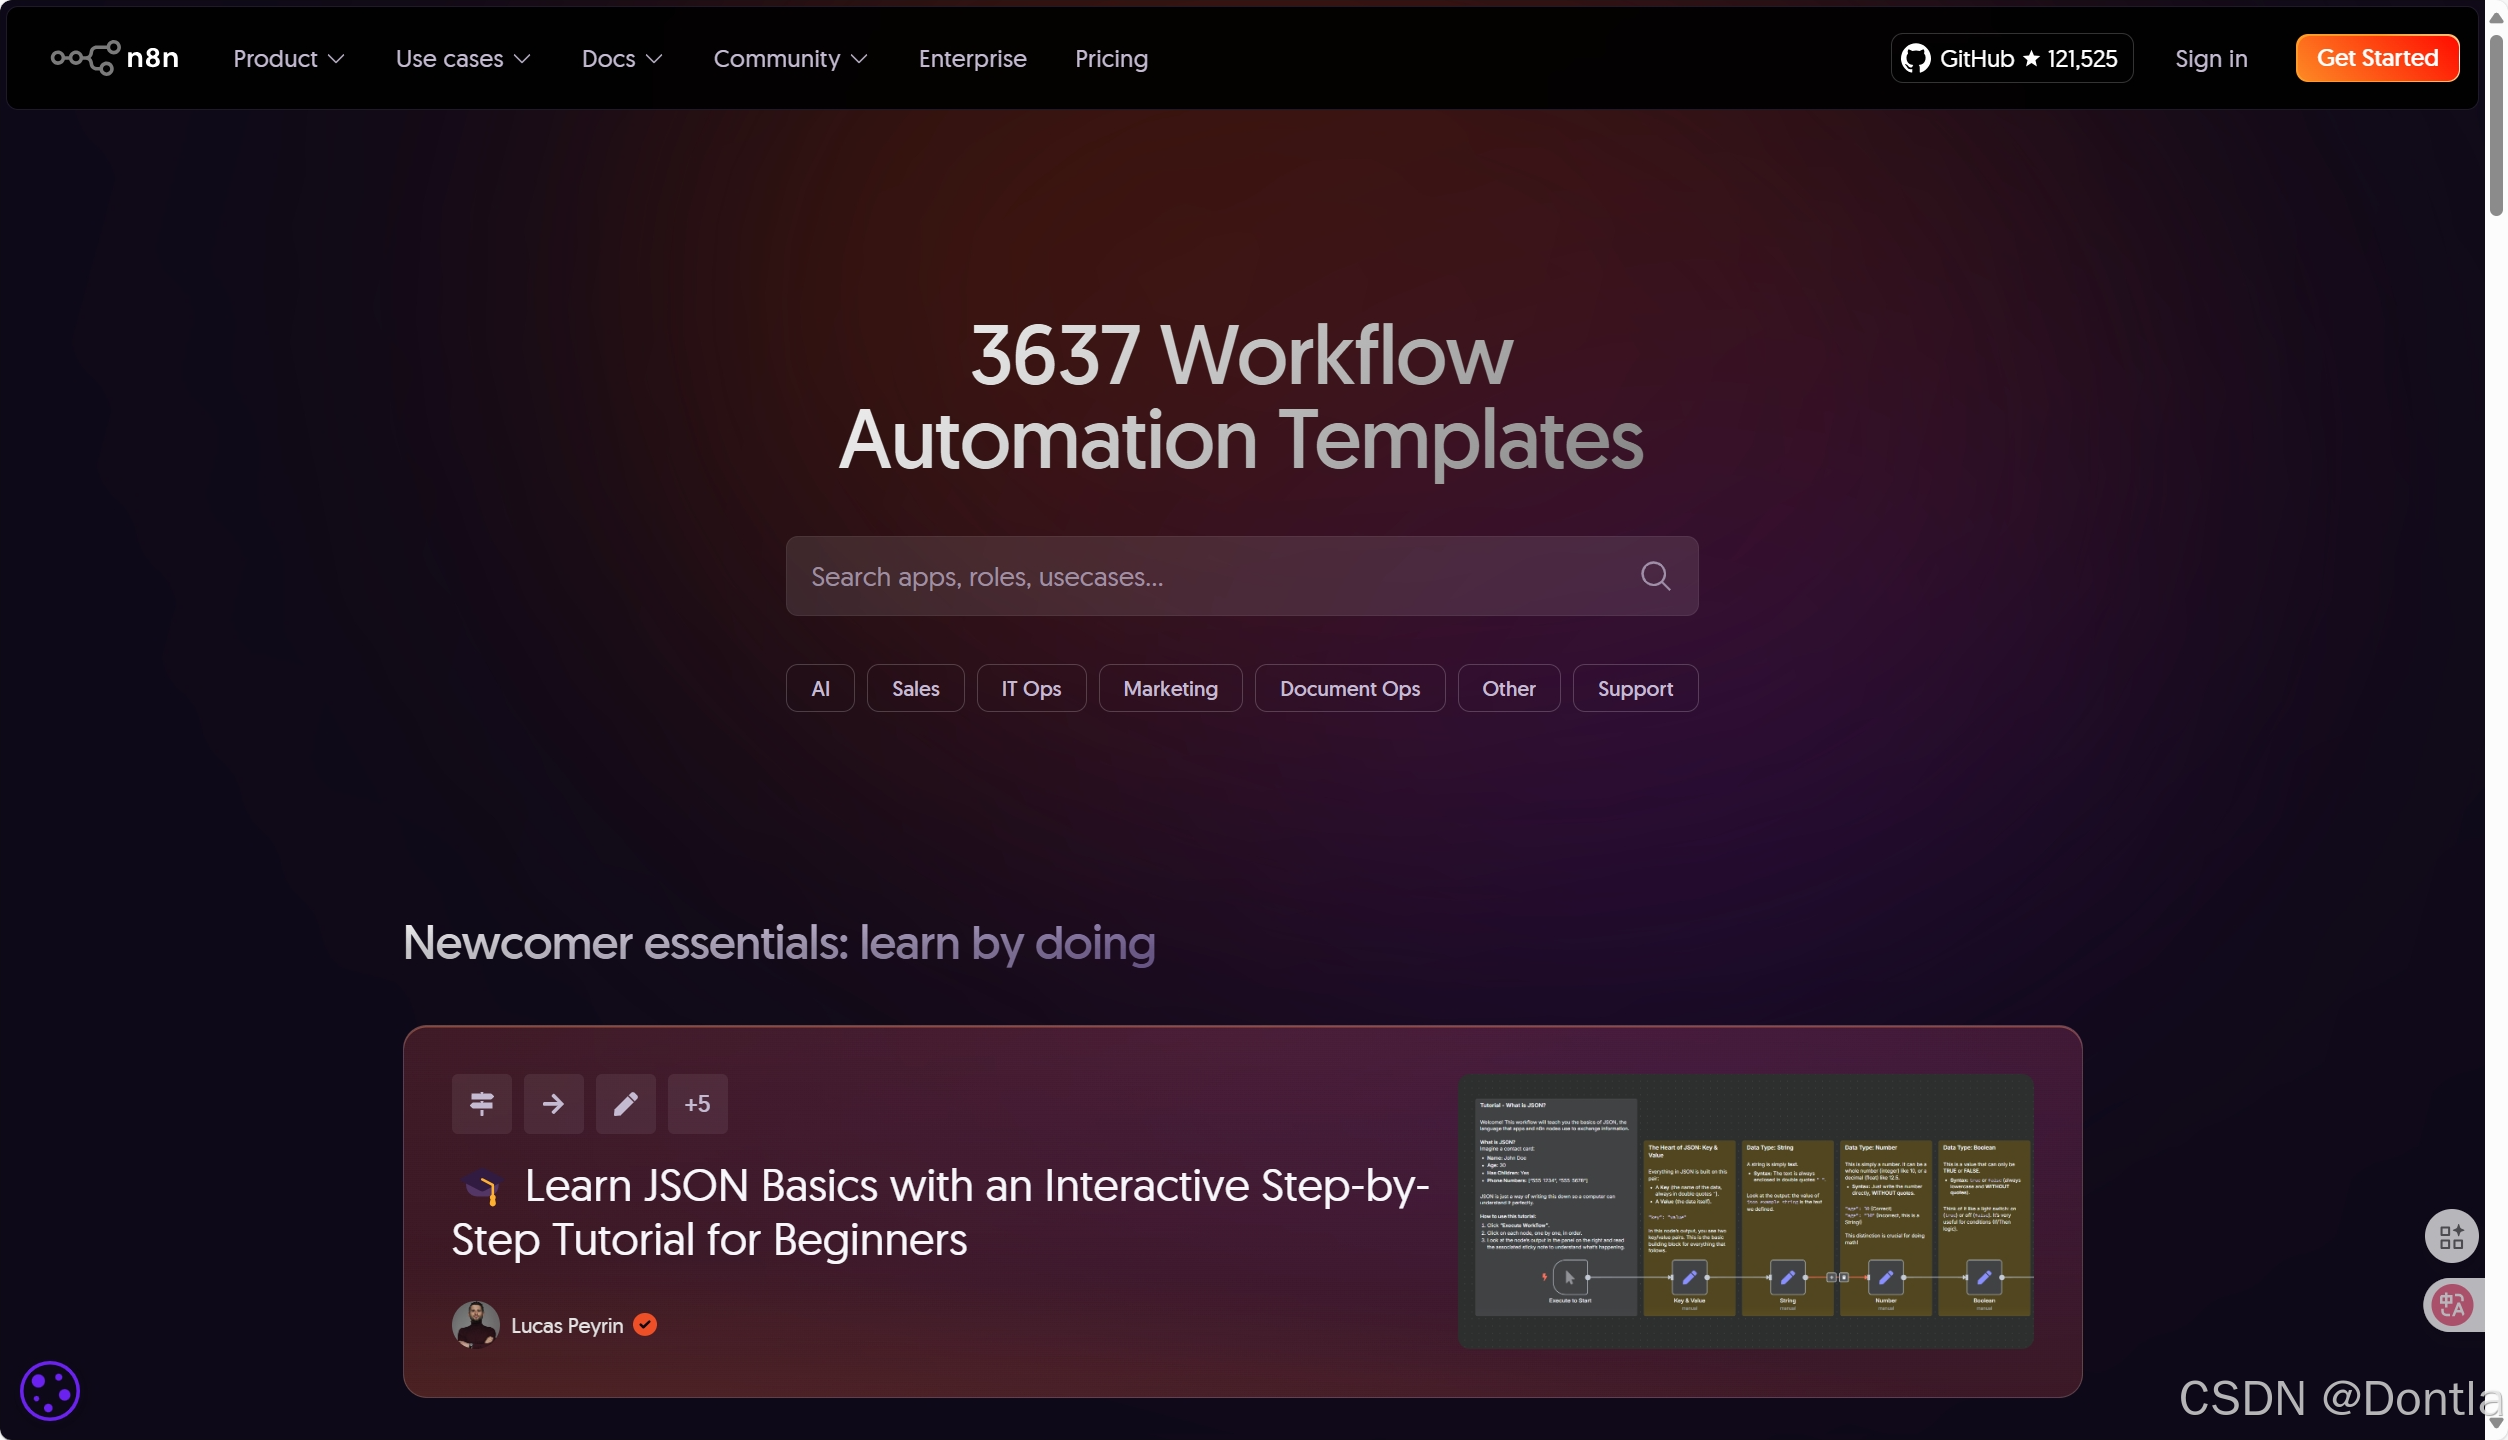
-
Variables: Used to store and access fixed data across your workflows. This feature is available on the Pro and Enterprise Plans.
-
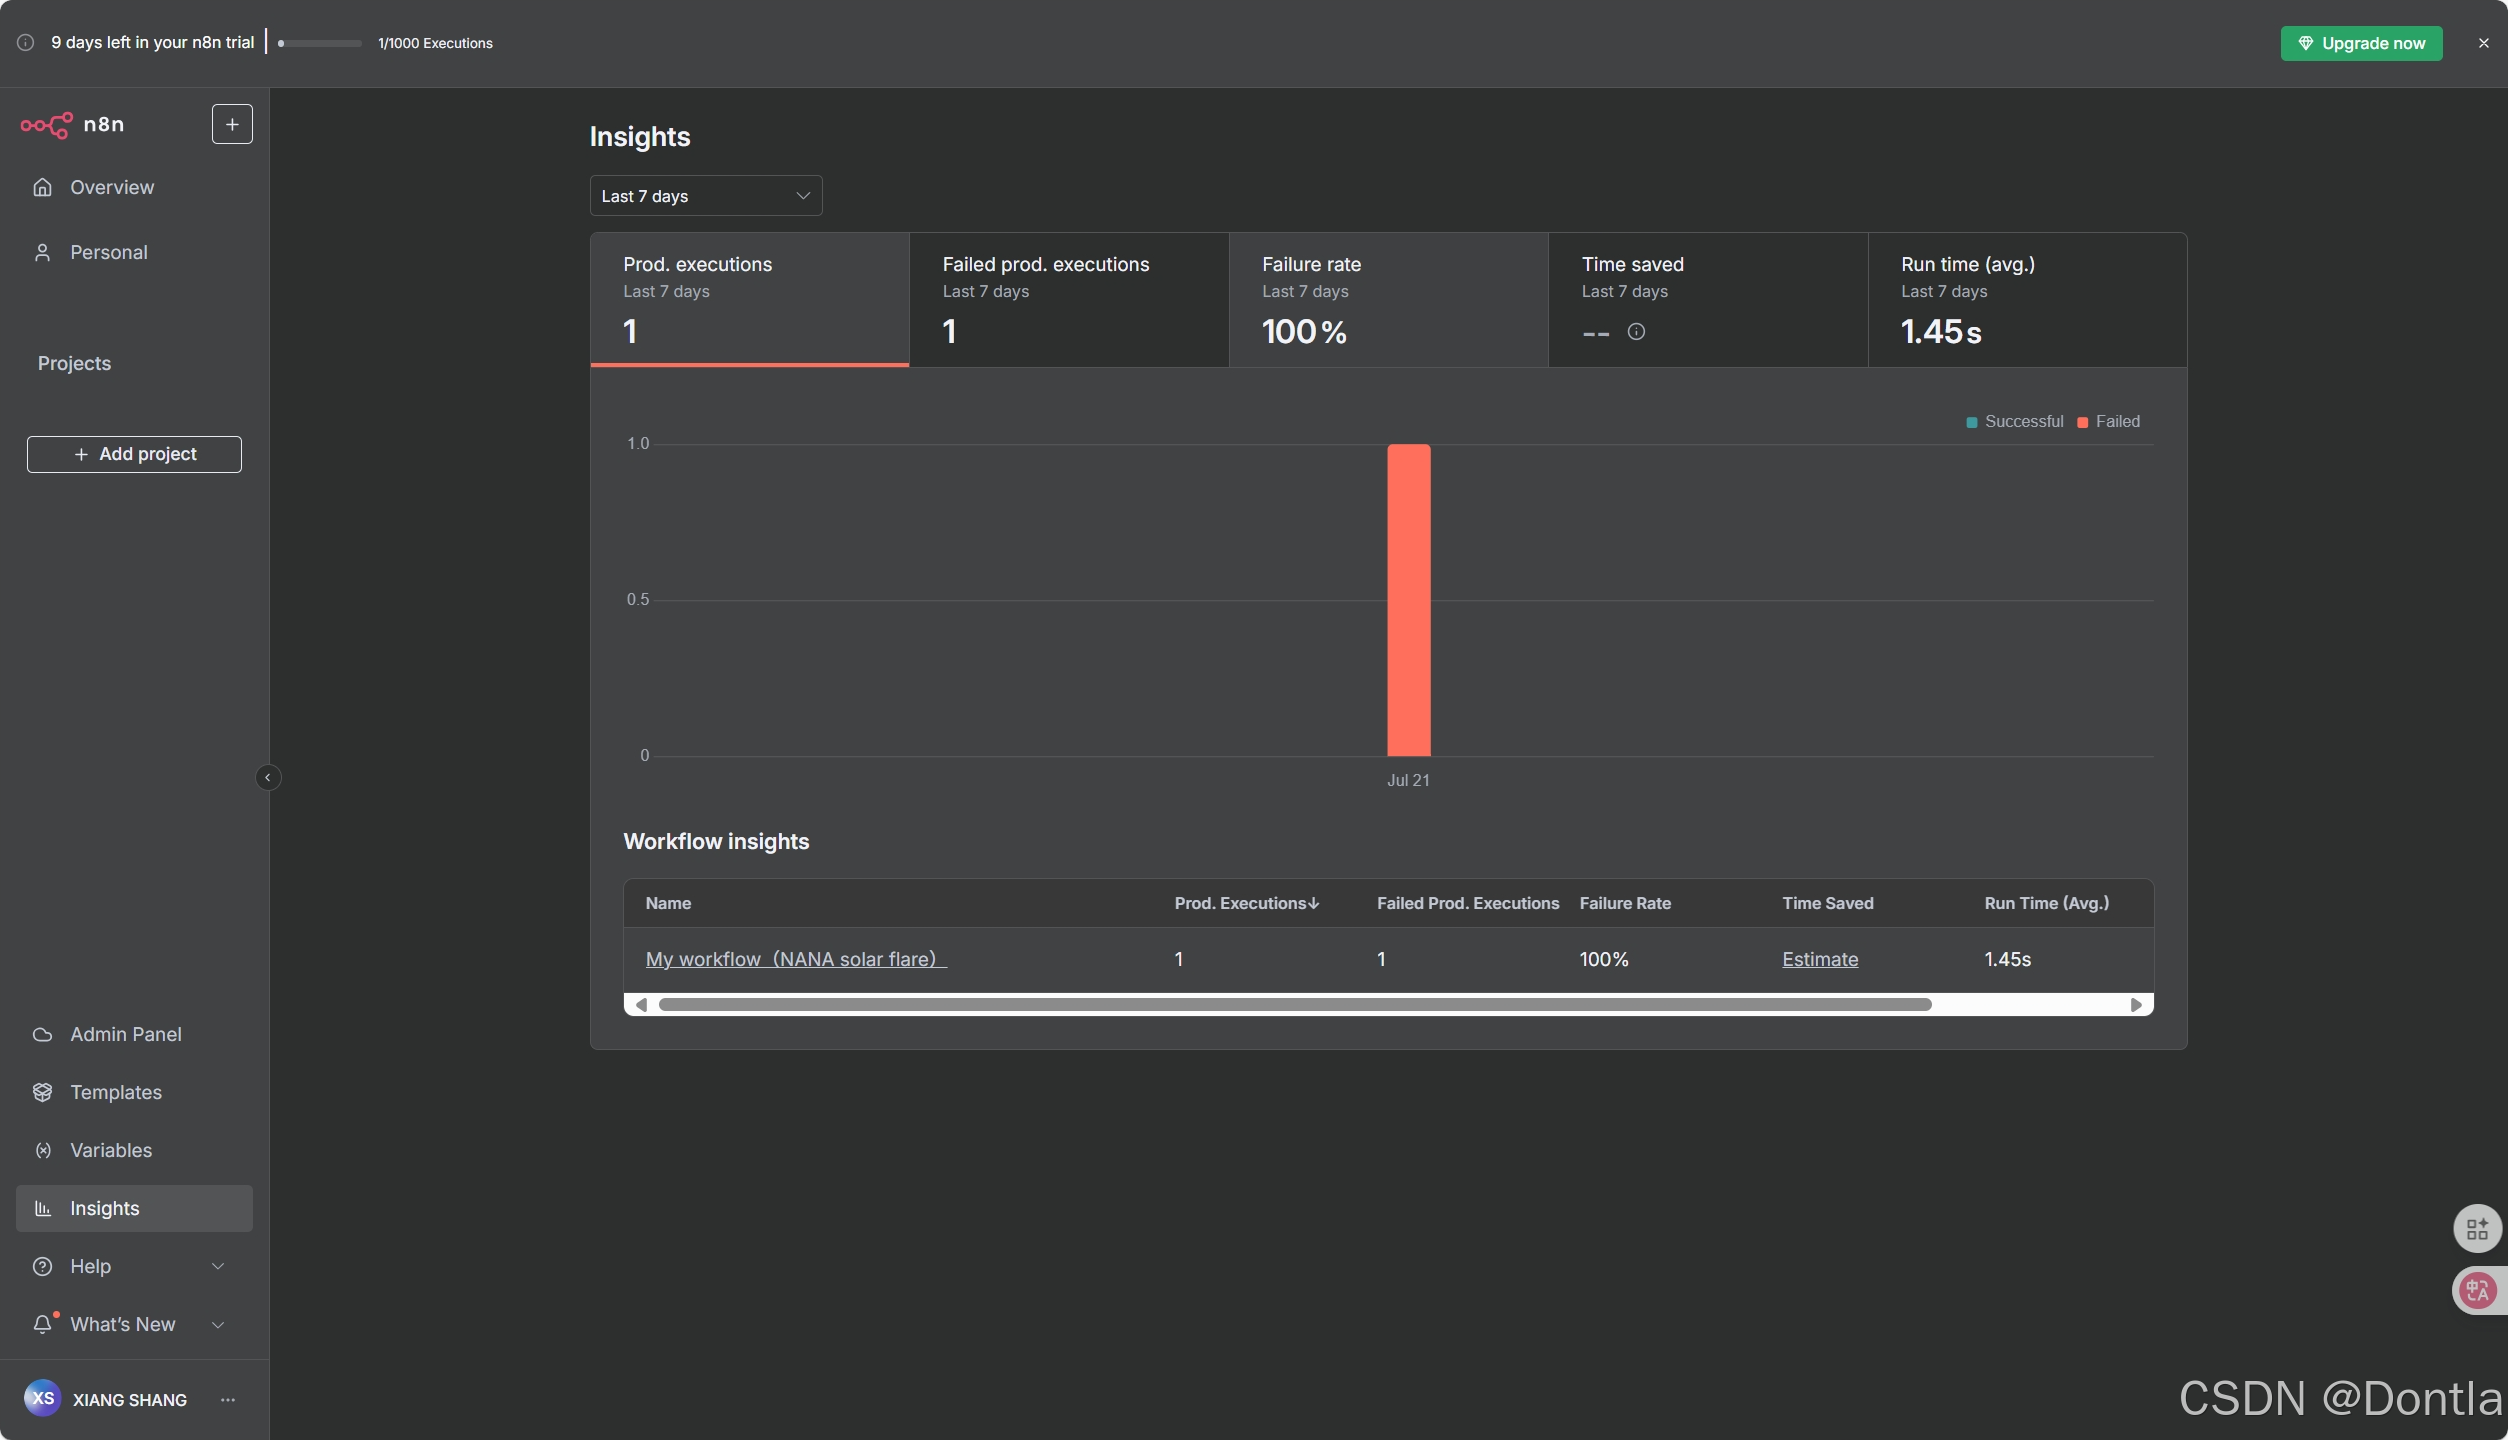
All executions(Insights): Contains information about your workflow executions.
-
Help: Contains resources around n8n product and community.
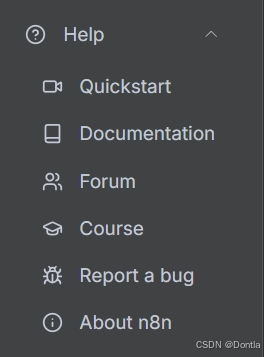
-
Update(What’s New): (When updates are available) Indicator for any recent product updates.

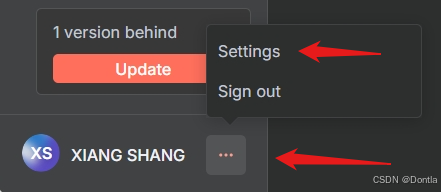
-
Settings: Under the ellipsis (
...) menu by your username. Manage users and access settings for a variety of features.

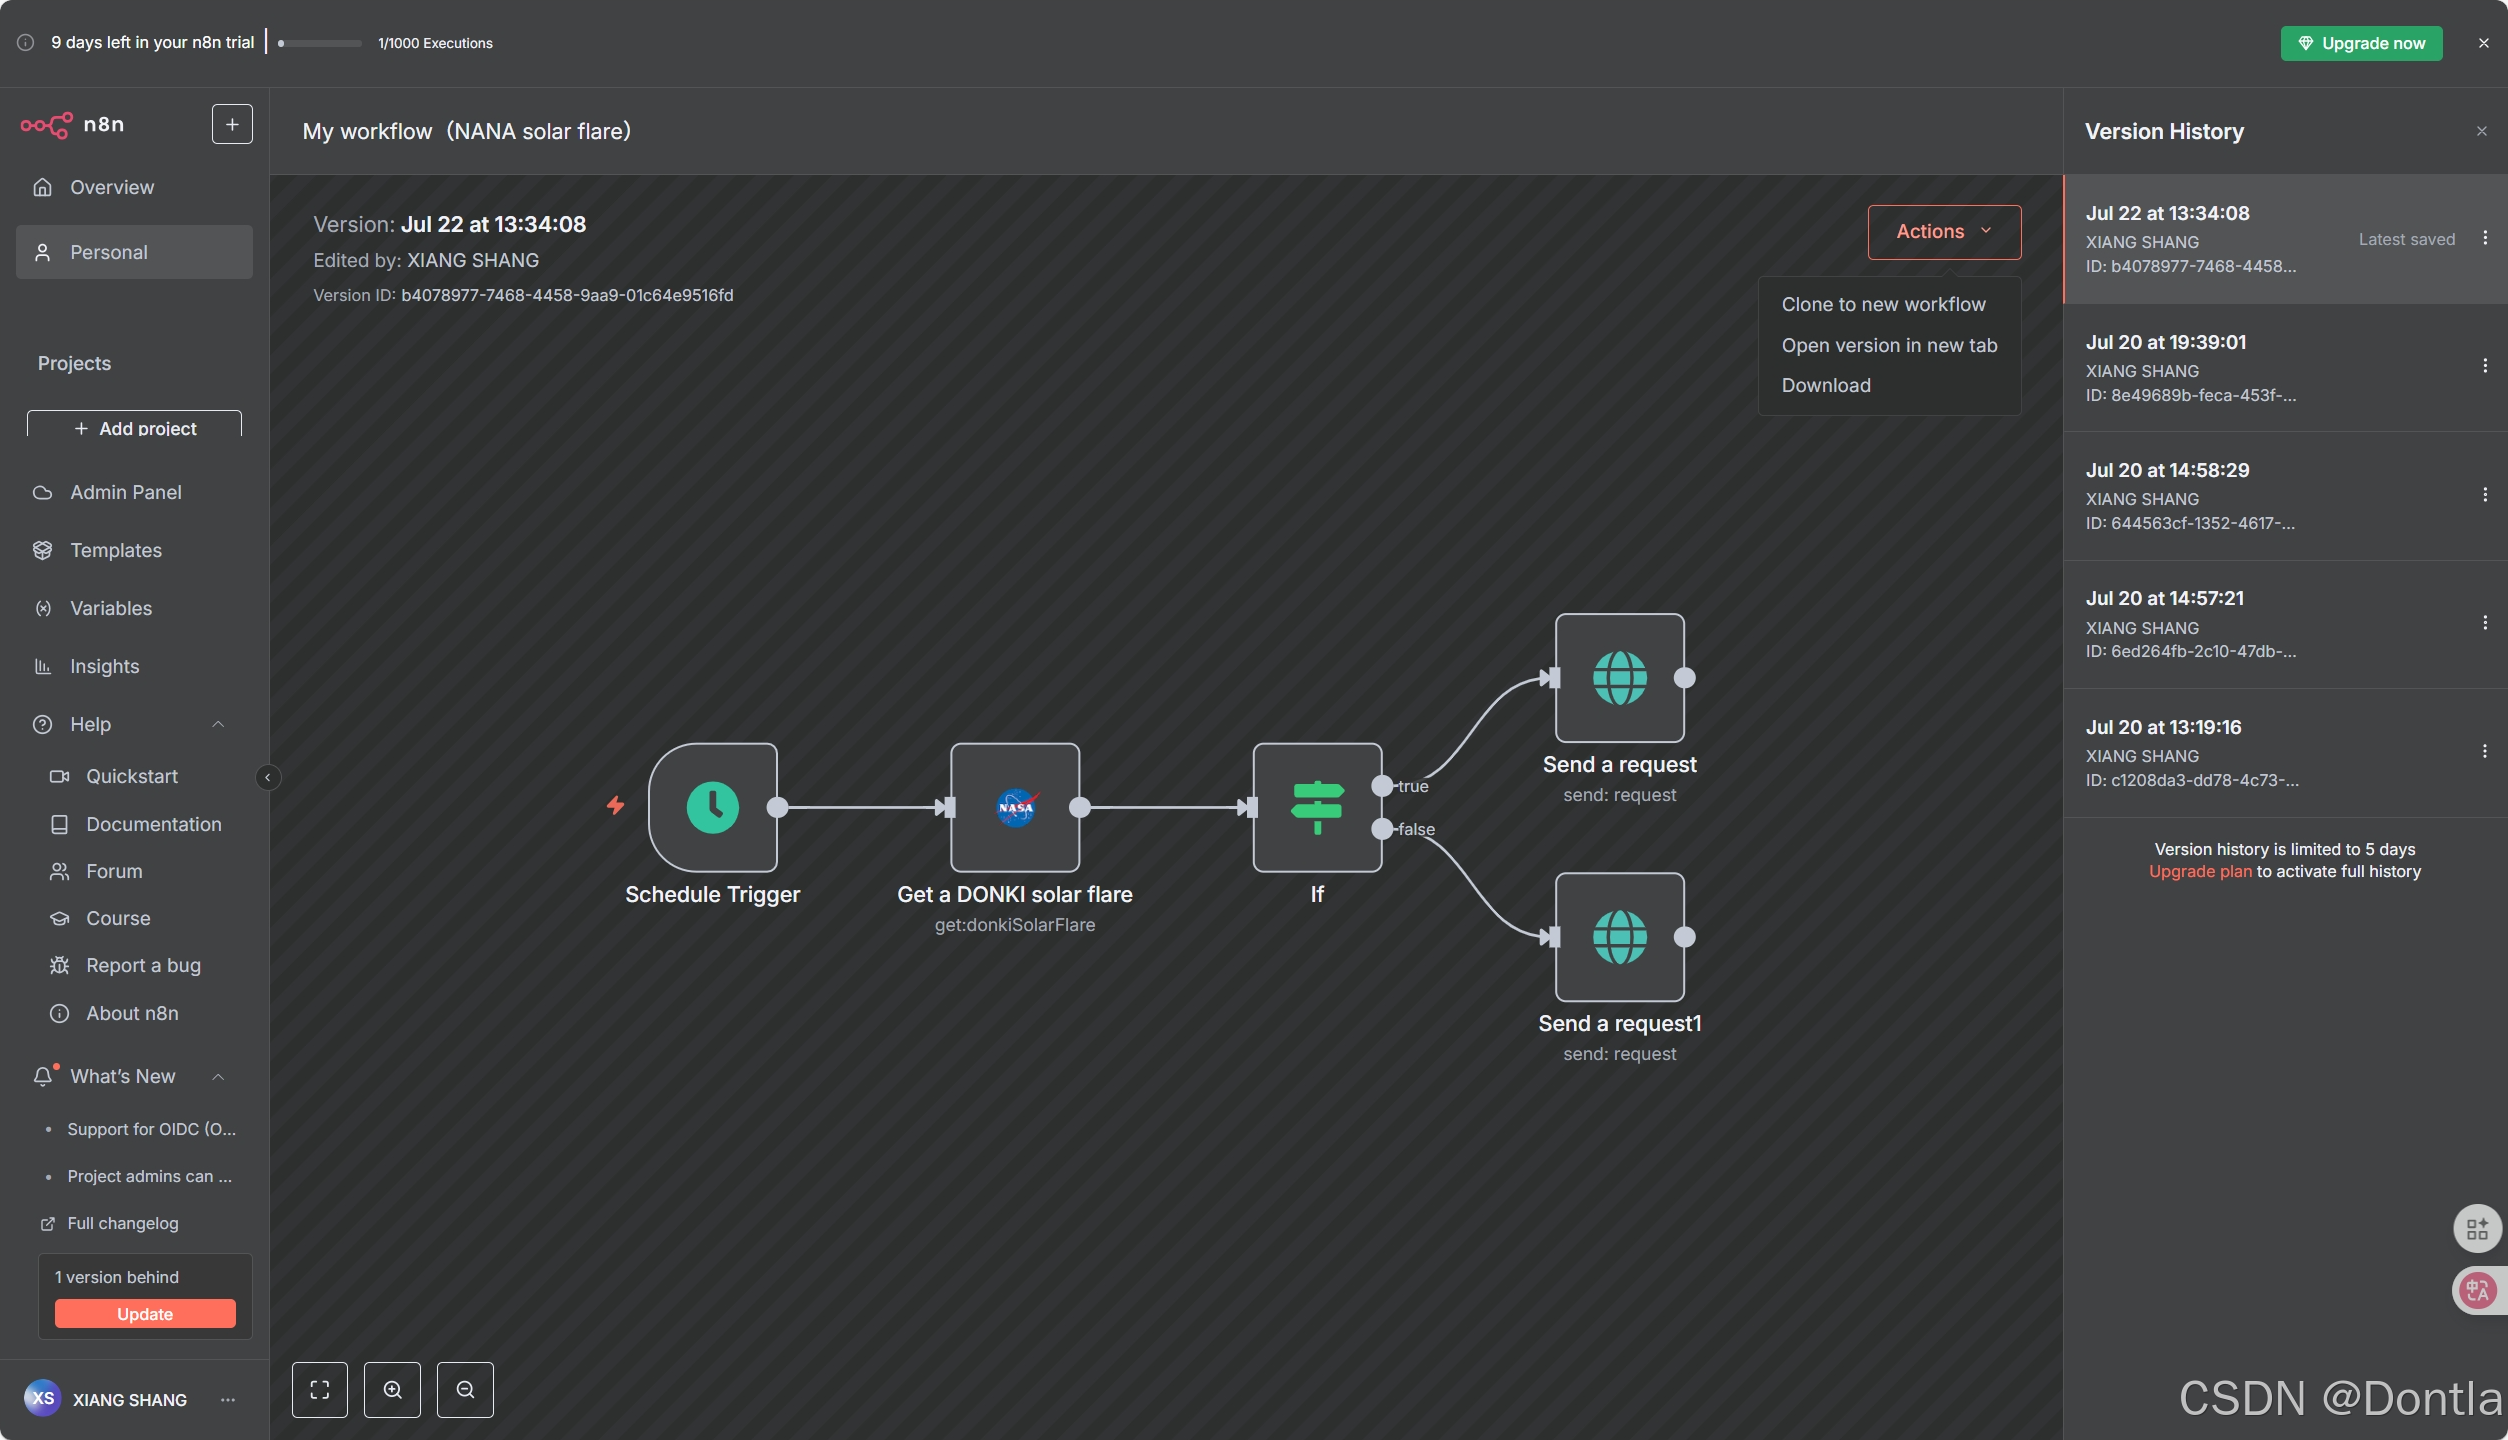
Top bar
The top bar of the Editor UI contains the following information:
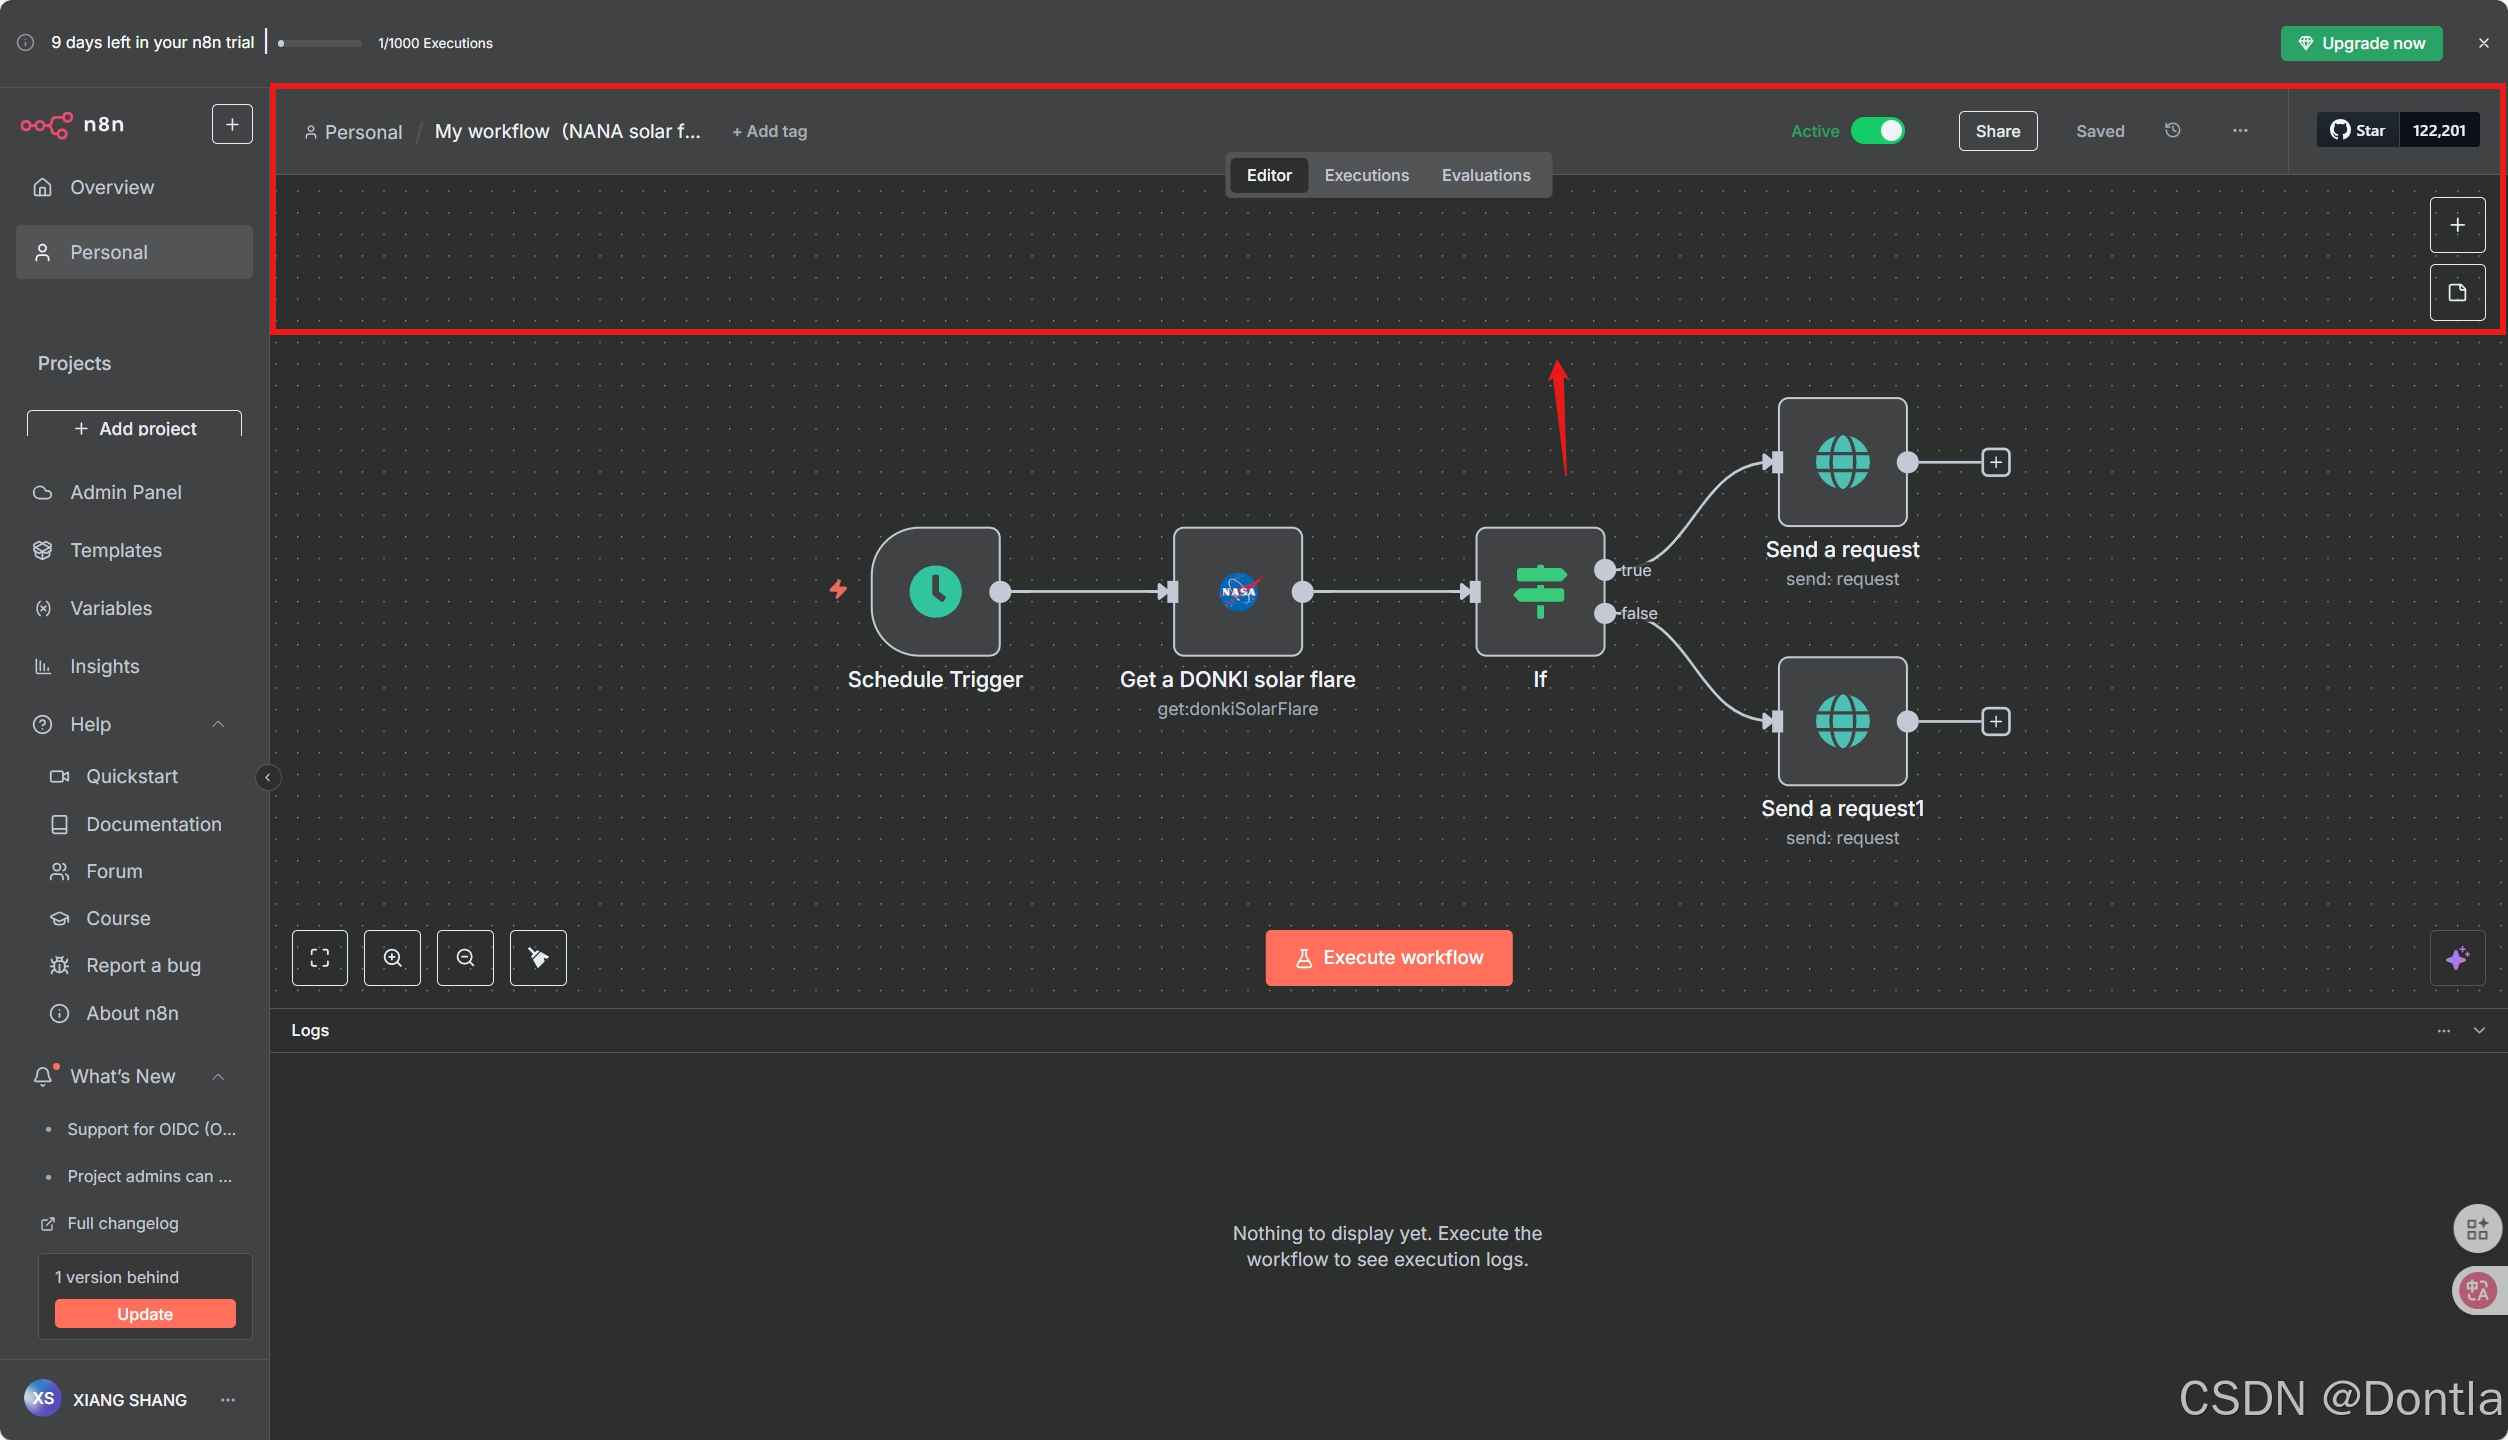
-
Workflow Name: By default, n8n names a new workflow as “My workflow”, but you can edit the name at any time.

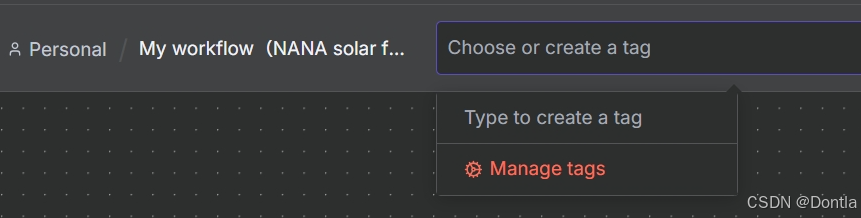
-
+ Add Tag: Tags help you organise your workflows by category, use case, or whatever is relevant for you. Tags are optional.

-
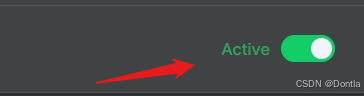
Inactive/active toggle: This button activates or deactivates the current workflow. By default, workflows are deactivated.
-
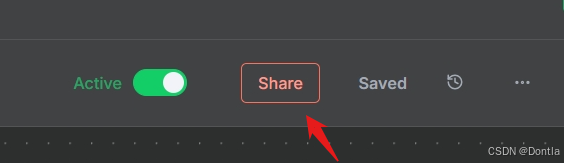
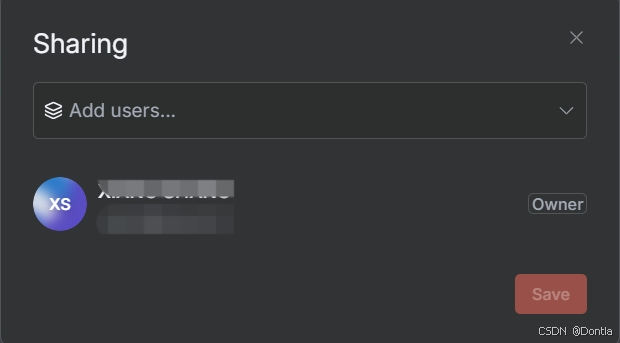
Share: You can share and collaborate with others on workflows on the Starter, Pro, and Enterprise plans.
-
Save: This button saves the current workflow.
-
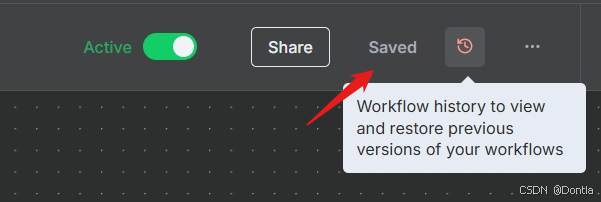
History: Once you save your workflow, you can view previous versions here.

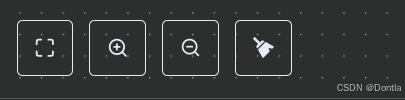
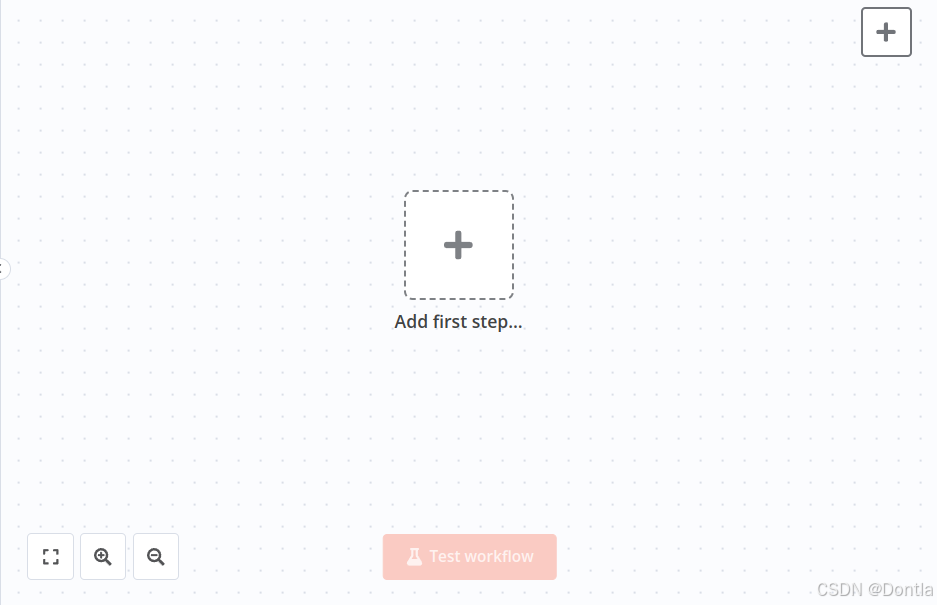
Canvas
The canvas is the gray dotted grid background in the Editor UI. It displays several icons and a node with different functionalities:
-
Buttons to zoom the canvas to fit the screen, zoom in or out of the canvas, and tidy up the nodes on screen.
-
A button to Execute workflow once you add your first node. When you click on it, n8n executes all nodes on the canvas in sequence.
-
A button with a + sign inside. This button opens the nodes panel.
-
A button with a note icon inside. This button adds a sticky note to the canvas (visible when hovering on the top right + icon).
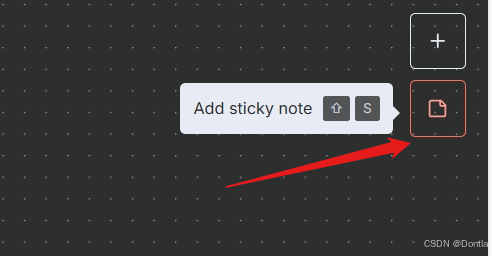
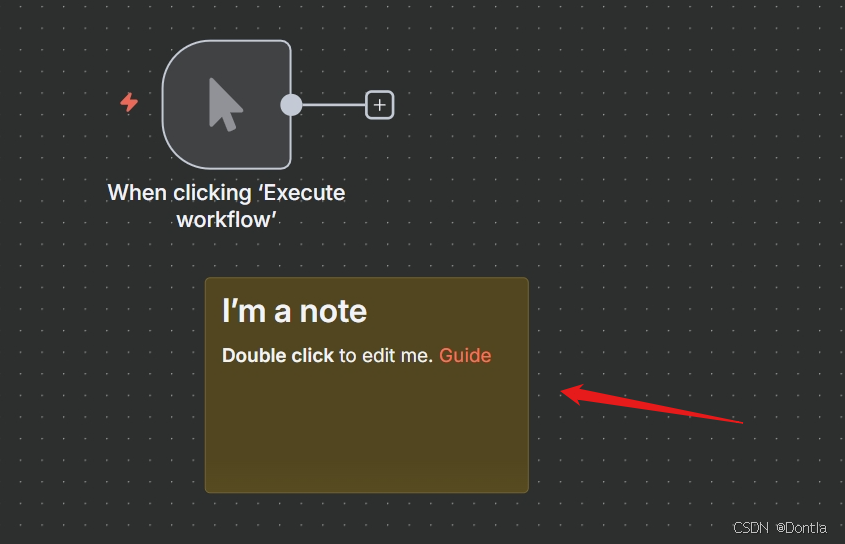
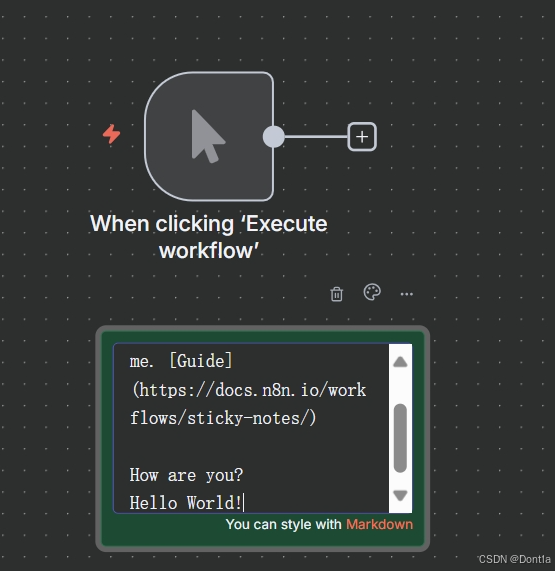
Sticky Notes:
Sticky Notes allow you to annotate and comment on your workflows.n8n recommends using Sticky Notes heavily, especially on template workflows, to help other users understand your workflow.
-
A dotted square with the text “Add first step.” This is where you add your first node.
Moving the canvas:
You can move the workflow canvas around in three ways:
- Select
ctrl + left-buttonon the canvas and move it around.- Select
middle-buttonon the canvas and move it around.- Place two fingers on your touchpad and slide.
Don’t worry about workflow execution and activation for now; we’ll explain these concepts later on in the course.
Nodes
You can think of nodes as building blocks that serve different functions that, when put together, make up a functioning machine: an automated workflow.
Node:
A node is an individual step in your workflow: one that either(a)loads,(b)processes, or(c)sends data.
Based on their function, n8n classifies nodes into four types:
- App or Action Nodes add, remove, and edit data; request and send external data; and trigger events in other systems. Refer to the Action nodes library for a full list of these nodes.
- Trigger Nodes start a workflow and supply the initial data. Refer to the Trigger nodes library for a list of trigger nodes.
- Core Nodes can be trigger or app nodes. Whereas most nodes connect to a specific external service, core nodes provide functionality such as logic, scheduling, or generic API calls. Refer to the Core Nodes library for a full list of core nodes.
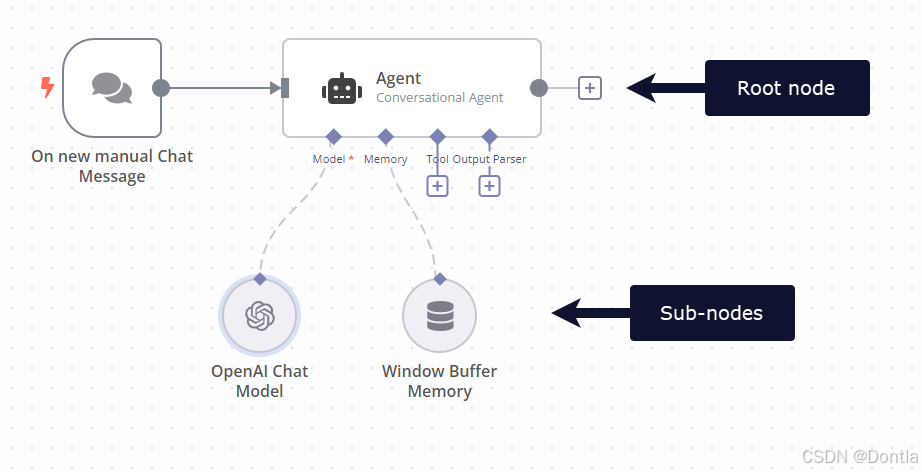
- Cluster Nodes are node groups that work together to provide functionality in a workflow, primarily for AI workflows. Instead of using a single node, you use a root node and one or more sub-nodes that extend the functionality of the node. Refer to Cluster nodes for more information.
Learn more:
Refer to Node types for a more detailed explanation of all node types.
Finding nodes
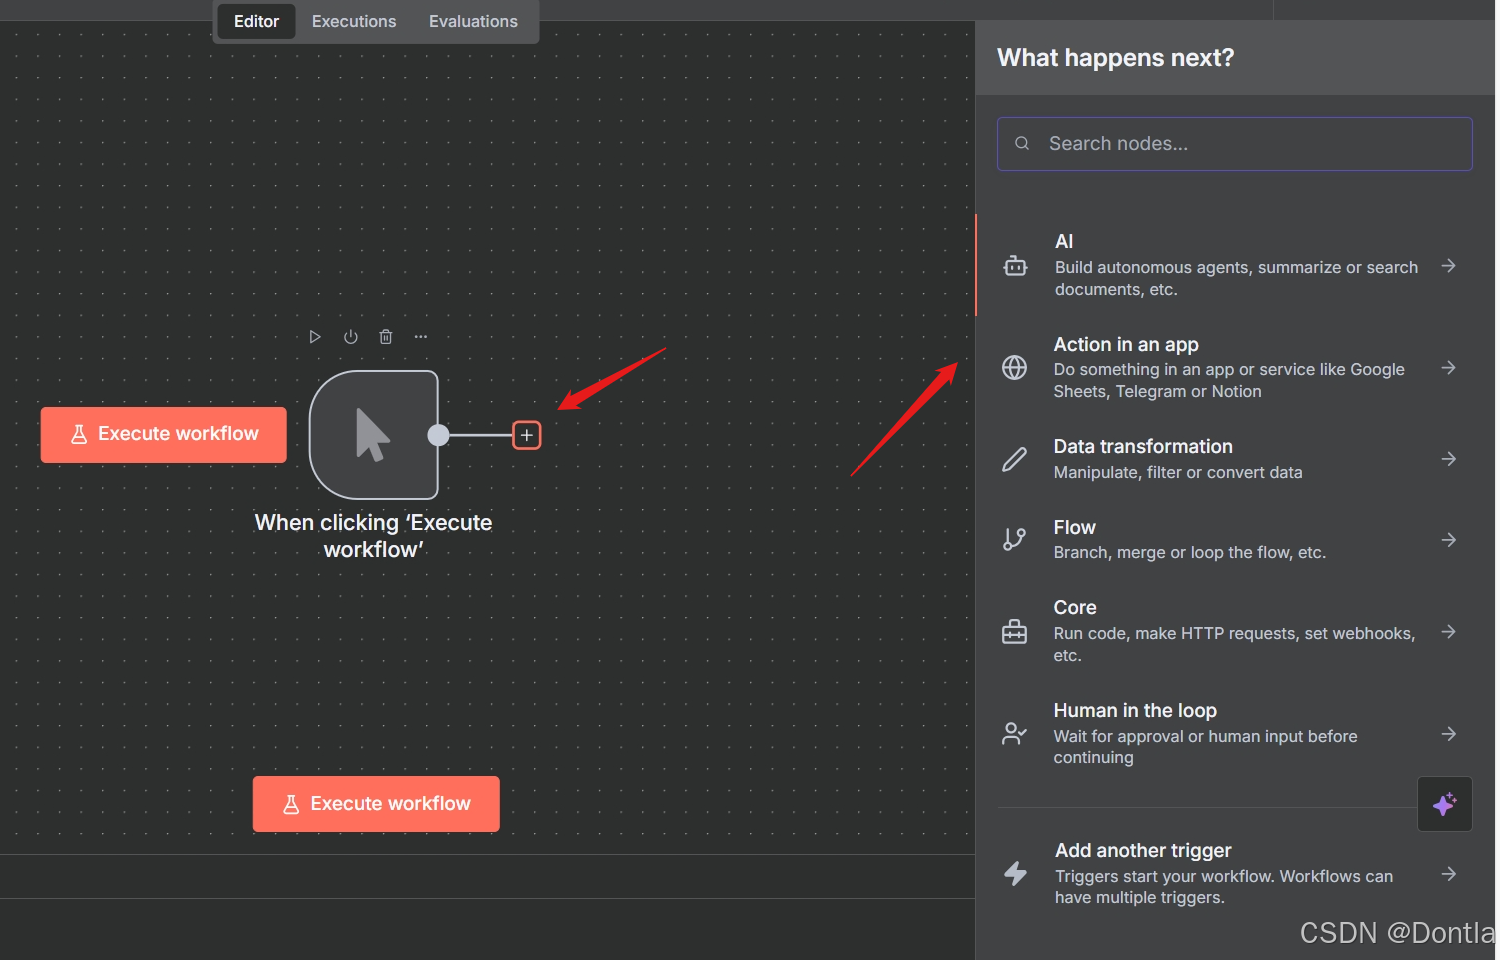
You can find all available nodes in the nodes panel on the right side of the Editor UI. There are three ways in which you can open the nodes panel:
-
Click the + icon in the top right corner of the canvas.

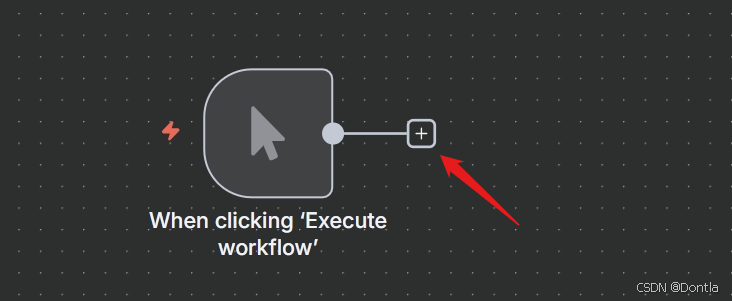
-
Click the + icon on the right side of an existing node on the canvas (the node to which you want to add another one).
-
Click the
tabkey on your keyboard.

In the nodes panel, notice that when adding your first node, you will see the different trigger node categories. After you have added your trigger node, you’ll see that the nodes panel changes to show Advanced AI, Actions in an App, Data transformation, Flow, Core, and Human in the loop nodes.
If you want to find a specific node, use the search input at the top of the nodes panel.
Adding nodes
There are two ways to add nodes to your canvas:
- Select the node you want in the nodes panel. The new node will automatically connect to the selected node on the canvas.
- Drag and drop the node from the nodes panel to the canvas.
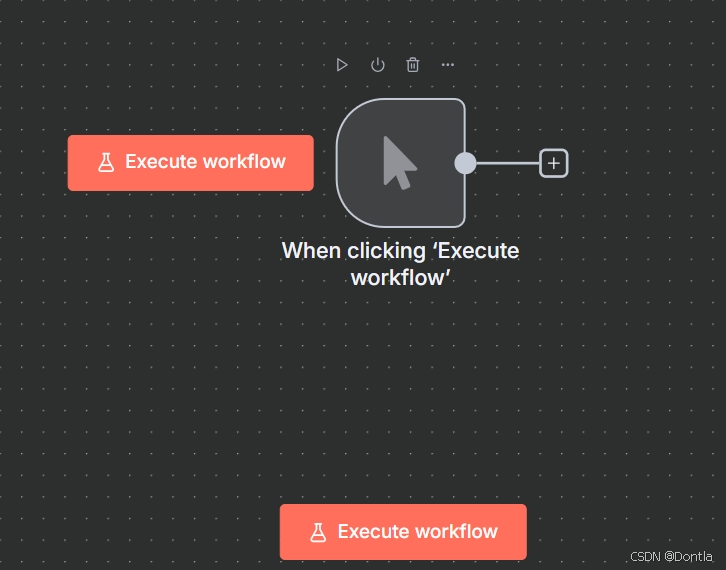
Node buttons
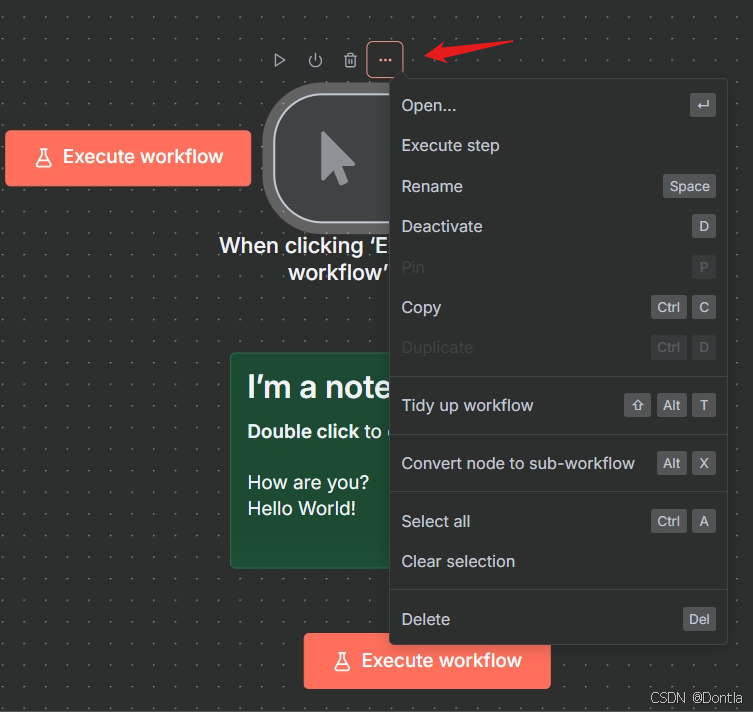
If you hover on a node, you’ll notice that three icons appear on top:
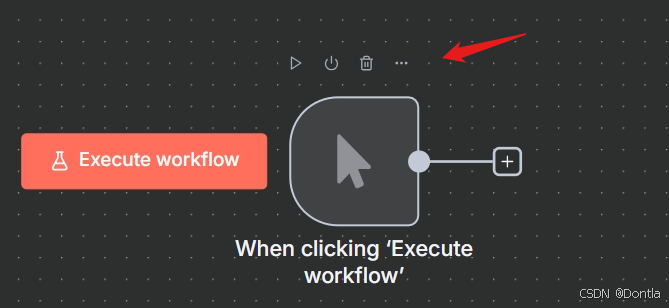
- Execute the node (Play icon)
- Deactivate/Activate the node (Power icon)
- Delete the node (Trash icon)
There will also be an ellipsis icon, which opens a context menu containing other node options.
Moving a workflow:
To move a workflow around the canvas, select all nodes with your mouse orctrl+a, select and hold on a node, then drag it to any point you want on the canvas.
Summary
In this lesson you learned how to navigate the Editor UI, what the icons mean, how to access the left-side and node panels, and how to add nodes to the canvas.
In the next lesson, you will build a mini-workflow to put into practice what you’ve learned so far.
软件——Altium Designer25版保姆级下载安装详细图文教程(附安装包))

)

)


Java框架技术-Maven和MyBatis)


)
介绍及实现原理)